

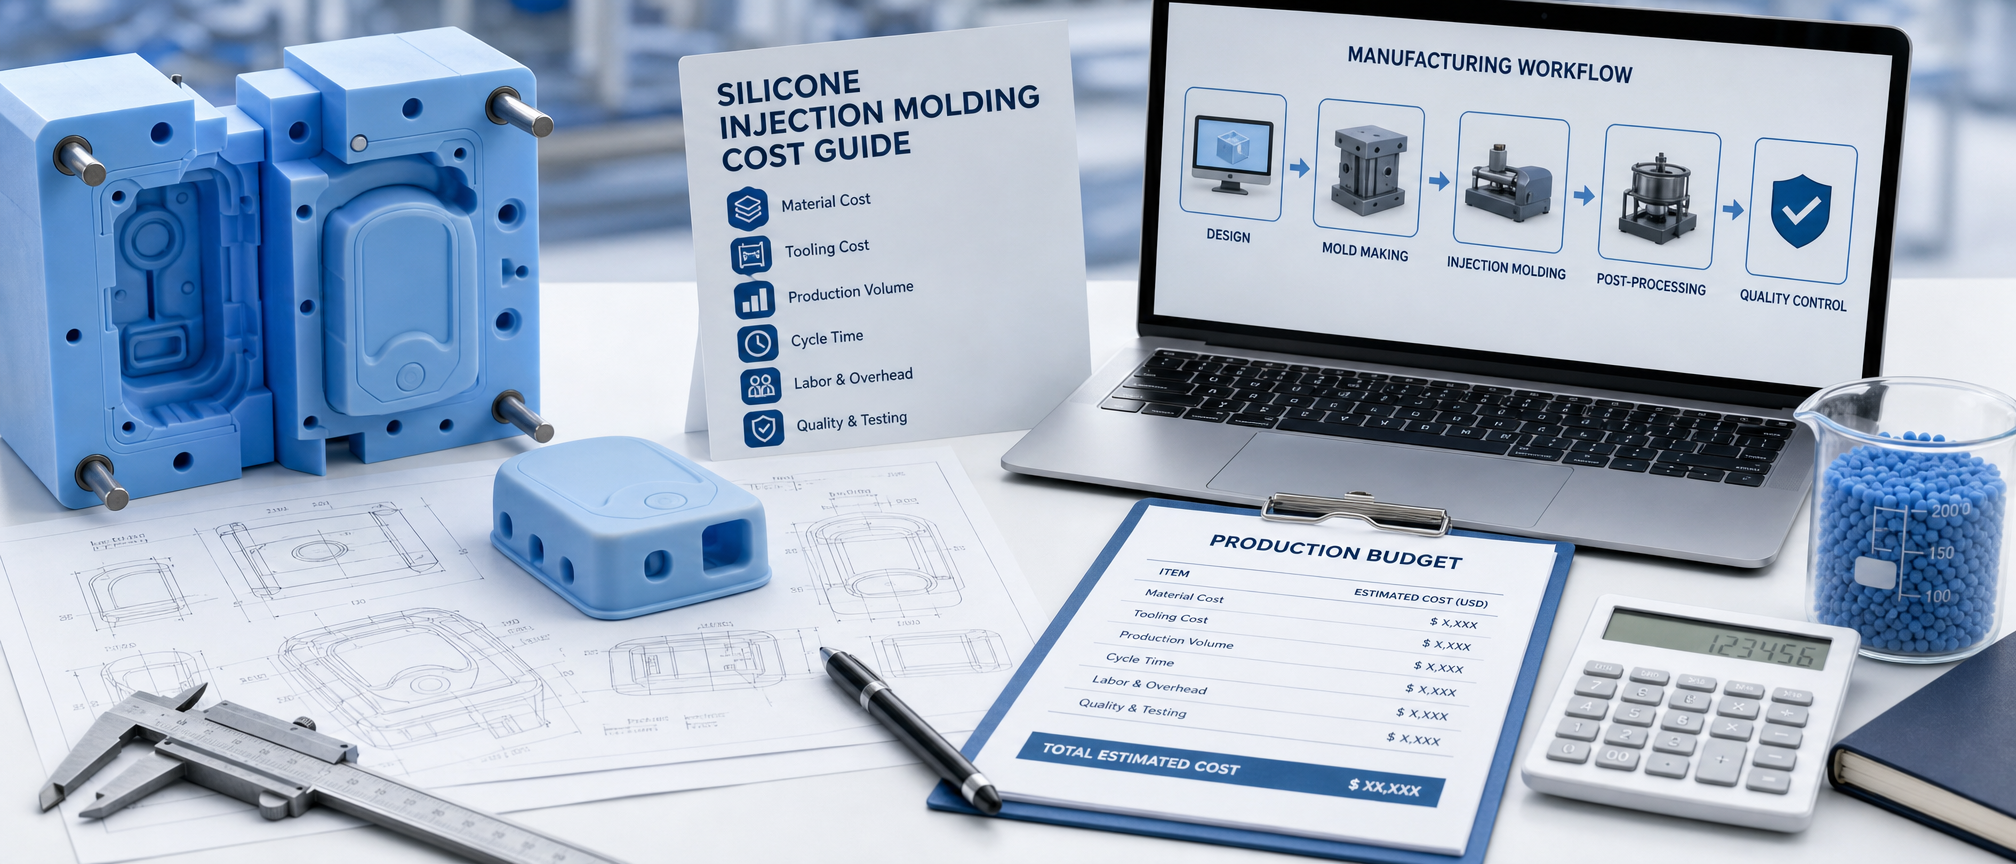
Silicone Injection Molding Cost Guide: What Drives Your Total Project Expenses?
I have seen many silicone projects start with a simple idea and then grow in cost very fast. The real surprise usually comes from design, tooling, and volume choices.
I think the total cost of silicone injection molding depends most on part complexity, part size, and production volume. When I simplify the shape, control the size, and plan the run size well, I usually get a much better price.
I often tell teams that cost control starts before the mold is built. If I make the design easier to mold early, I can reduce waste, save time, and avoid expensive changes later.
Core Factors That Impact Your Total Silicone Molding Budget?
I have learned that many budgets fail because people focus only on the unit price. That mistake can cause stress, delay, and rework when the mold quote comes back much higher than expected.
I see the main cost drivers as part geometry, material use, mold structure, cycle time, and order volume. If I understand these five items early, I can plan a more realistic project budget.
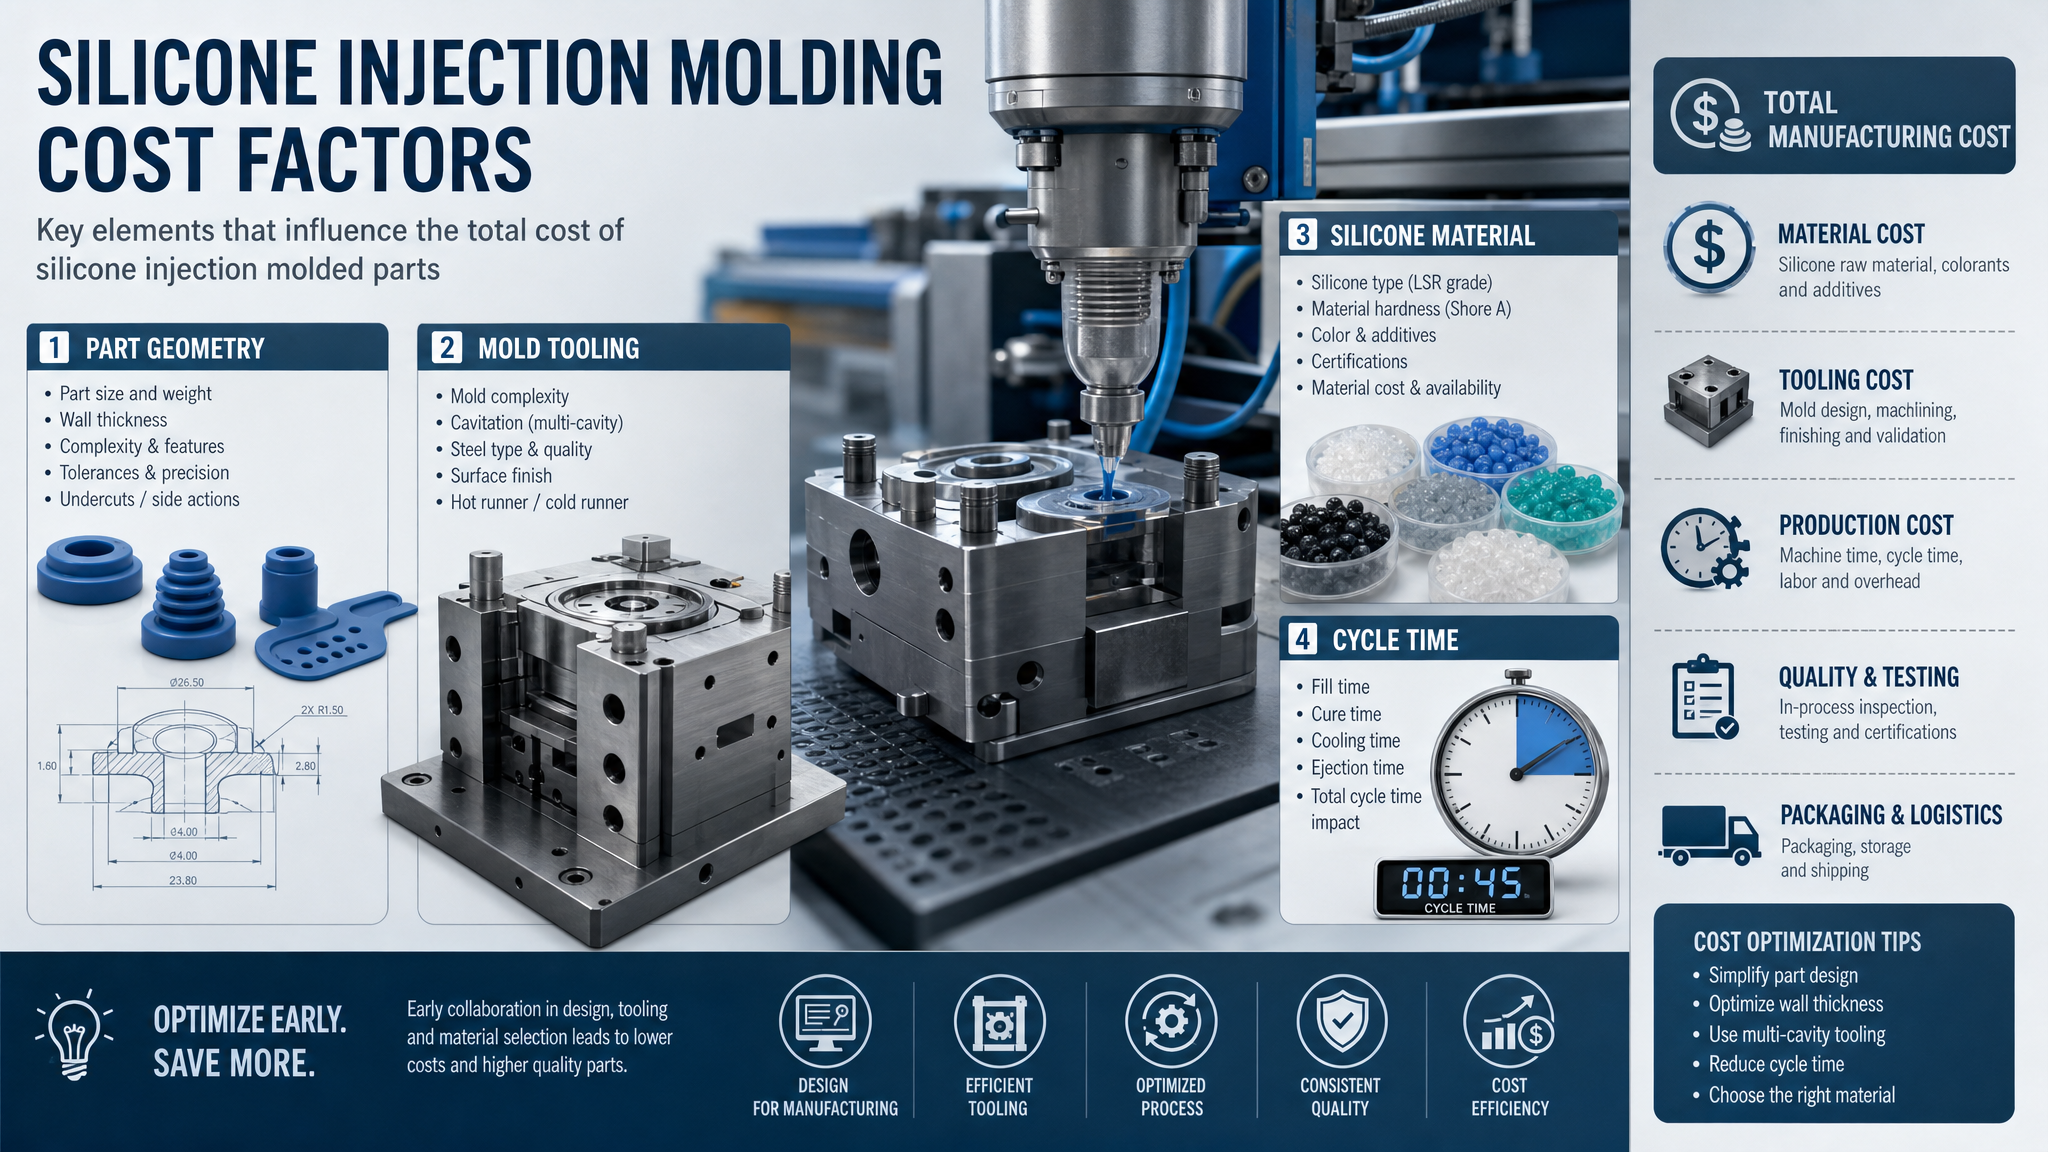
When I explain silicone molding costs, I usually begin with the mold, not the part. The mold is the biggest early expense, and its price depends on how hard the part is to make. A simple open shape is easier to build. A part with undercuts, deep ribs, tight tolerances, or thin walls needs more careful mold engineering. That means more design work, more machining, and more testing. I also see material choice affect the total budget. Some silicone grades are easier to process. Others need more control and better tooling. Then I look at production speed. If the part needs a long cure time or a difficult demold step, the cycle time rises. That pushes the piece cost up. I always remind myself that a low tooling quote is not always the cheapest path. A weak mold design can create scrap, poor quality, and later repair costs. In my work, the best budget is the one that balances mold cost, stable production, and low waste.
Why Do Design Details Change Mold Cost So Much?
I have worked on parts that looked simple on paper but became expensive in the mold room. Small design details often decide whether the mold is clean and stable or difficult and costly.
| Design feature | Cost impact | Why I watch it |
|---|---|---|
| Undercuts | High | Needs side actions or more complex mold structure |
| Tight tolerances | High | Needs better machining and tighter control |
| Thin walls | Medium to high | Increases fill and cure challenge |
| Large flat areas | Medium | Can create warp and venting issues |
| Deep cavities | High | Makes tool design and ejection harder |
I usually ask one question first. Can I keep the shape simple and still meet the function? If I can, I often save money without hurting product quality. I also look at wall thickness. I prefer a balanced wall when I can, because it helps flow and cure more evenly. I check draft angles, venting, and parting lines too. These details matter because they can reduce flash, shorten trial time, and improve yield. I have seen teams save a lot by changing one small rib or moving one hole. That is why I always treat mold-friendly design as a cost tool, not just a technical choice.
How Design Complexity and Part Size Drive Tooling Expenses?
I have seen part size and part shape work together like two cost levers. When both increase at the same time, the mold budget usually rises fast.
I find that larger and more complex silicone parts need more steel, more machining, more support, and often more time in trial runs. That is why these two factors shape tooling cost so strongly.
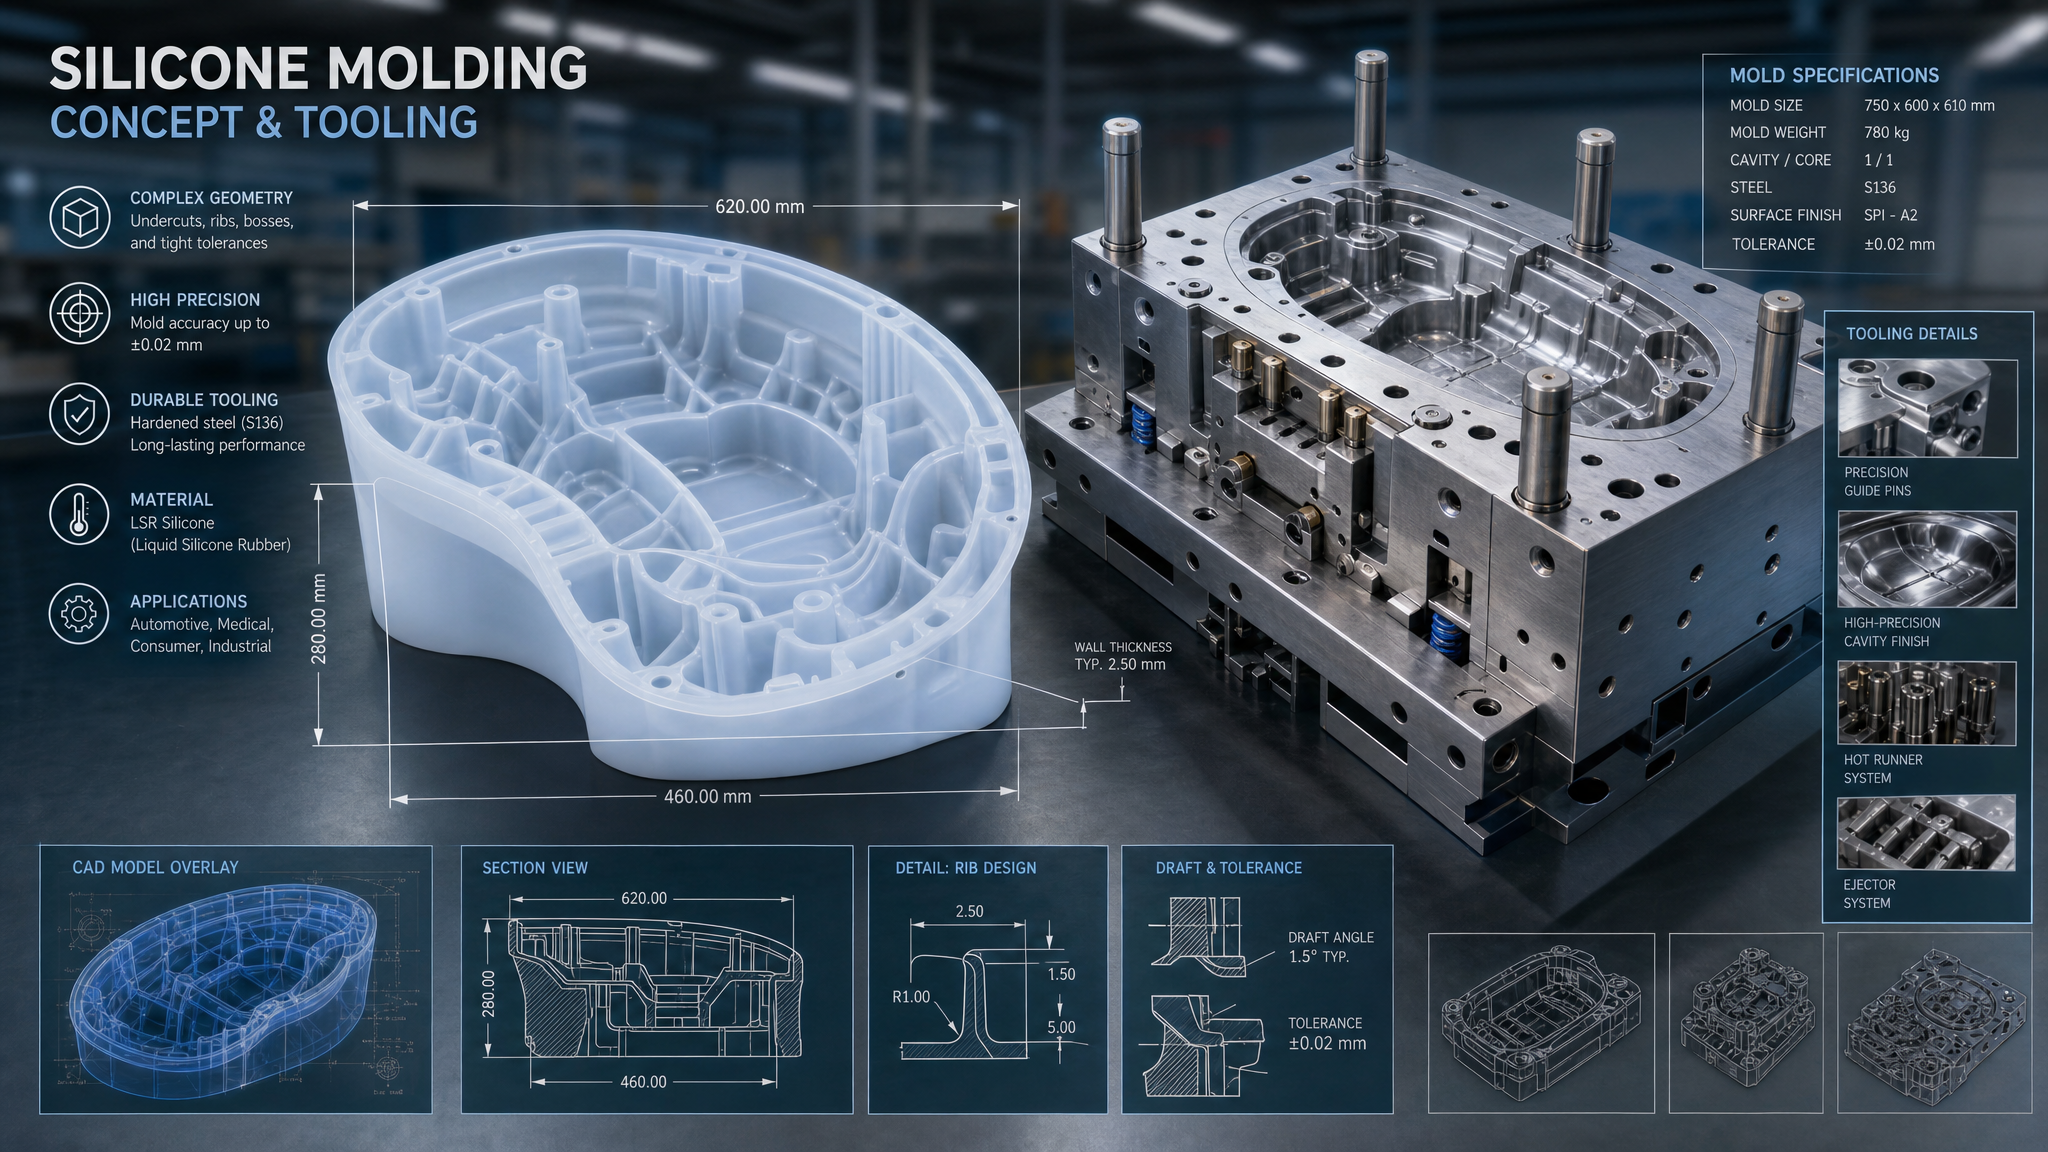
When I review tooling cost, I first think about mold size. A larger part needs a larger cavity and often a stronger mold base. That means more material for the tool itself and more machine time during fabrication. I also think about how the silicone will flow. A big part may need better gate placement and better venting. If the flow is not balanced, I may see trapped air, weak spots, or flash. Complex geometry adds another layer. If the part includes inserts, undercuts, sharp internal corners, or deep pockets, the mold becomes harder to build and maintain. I may need extra slides, special ejection, or more careful polishing. All of that adds cost. I also consider how the part will be removed. If the demolding action is risky, I may need a slower cycle or a more advanced tool design. In my experience, part size and geometry are not separate issues. They combine and multiply each other. That is why I always review both together before I approve a mold budget.
What Should I Check Before I Freeze the Tooling Design?
I usually slow down before final tool approval and check a few practical points. These checks help me avoid costly revisions later.
| Check point | What I look for | Cost effect |
|---|---|---|
| Overall size | Can I reduce the footprint? | Lower steel and machining cost |
| Wall balance | Are wall sections even? | Better flow and fewer defects |
| Undercuts | Can I remove or reduce them? | Lower mold complexity |
| Tolerance zones | Do all dimensions need tight control? | Less precision cost if relaxed |
| Demolding path | Can the part release cleanly? | Faster cycle and lower risk |
I think this step is where good design work pays back the most. If I challenge the design early, I can avoid expensive mold features that do not add real value. I also like to compare function with manufacturability. A design can look perfect in CAD, but it still must run well in a real factory. I have seen this many times in product development. A small change in radius, draft, or opening direction can save both money and time. That is why I always involve mold engineers early. Their input helps me keep the design realistic.
Estimating High-Volume vs. Low-Volume Production Costs?
I often see people ask why one silicone part looks expensive in a small order but much cheaper in a large run. The answer is simple. The fixed costs spread out across more parts.
I find that low-volume production usually has a higher unit cost because the mold cost, setup time, and process losses are divided by fewer pieces. High-volume production lowers unit price because I can spread those fixed costs across many more parts.

When I estimate low-volume cost, I pay close attention to setup, trial, inspection, and tooling recovery. These costs do not shrink much even if the order is small. So the price per part stays high. This is common in prototype runs, pilot batches, and special orders. High-volume production is different. Once the process is stable, I can run longer and reduce the cost per part. I also benefit from better material buying, smoother scheduling, and less downtime between jobs. Still, I do not assume high volume always means low total cost. If the mold is complex or the part is large, the total project expense can still be high. I therefore look at both the upfront tool and the long-term piece cost. That gives me a clearer view of the real budget.
How Do I Build a Better Cost Estimate?
I use a simple way to think about cost. I split it into mold cost, piece cost, and risk cost. Mold cost is the upfront spend. Piece cost is the money needed to make each part. Risk cost is the hidden part, and it includes scrap, change orders, and delays.
| Production type | Main cost pressure | My cost focus |
|---|---|---|
| Low volume | High tool share per part | Keep tooling simple and flexible |
| Medium volume | Balanced tool and piece cost | Optimize both mold and cycle time |
| High volume | Piece cost matters most | Improve stability, speed, and yield |
I always tell myself that the cheapest quote is not always the best answer. A project can look low-cost at first and still become expensive if the mold is hard to maintain or the part causes high scrap. I prefer to ask for a cost estimate that includes realistic cycle time, expected yield, and tool life. I also like to see how the supplier thinks about manufacturability. If the supplier can suggest changes that improve flow, release, or cooling, I usually trust that quote more. For me, a good estimate is not just a number. It is a plan for a stable production result.
Conclusion
I know silicone molding cost is driven by design, size, and volume, and I always save more when I simplify the part before I lock the mold design.