


What Is the Best Rapid Prototyping Approach for a Startup Needing Prototypes, Tooling, and Small-Batch Production?
You want a product in hand, but tooling costs can crush a startup budget. Most teams pick one method too early and pay for it later. I have seen this many times over my ten years in product and mold design.
The best approach is a staged, risk-driven hybrid: start with low-cost 3D printing, move to precision machining and soft tooling, and only then bridge into small-batch production. This path maximizes learning speed, keeps early costs near zero, and smooths the climb into real volume manufacturing.
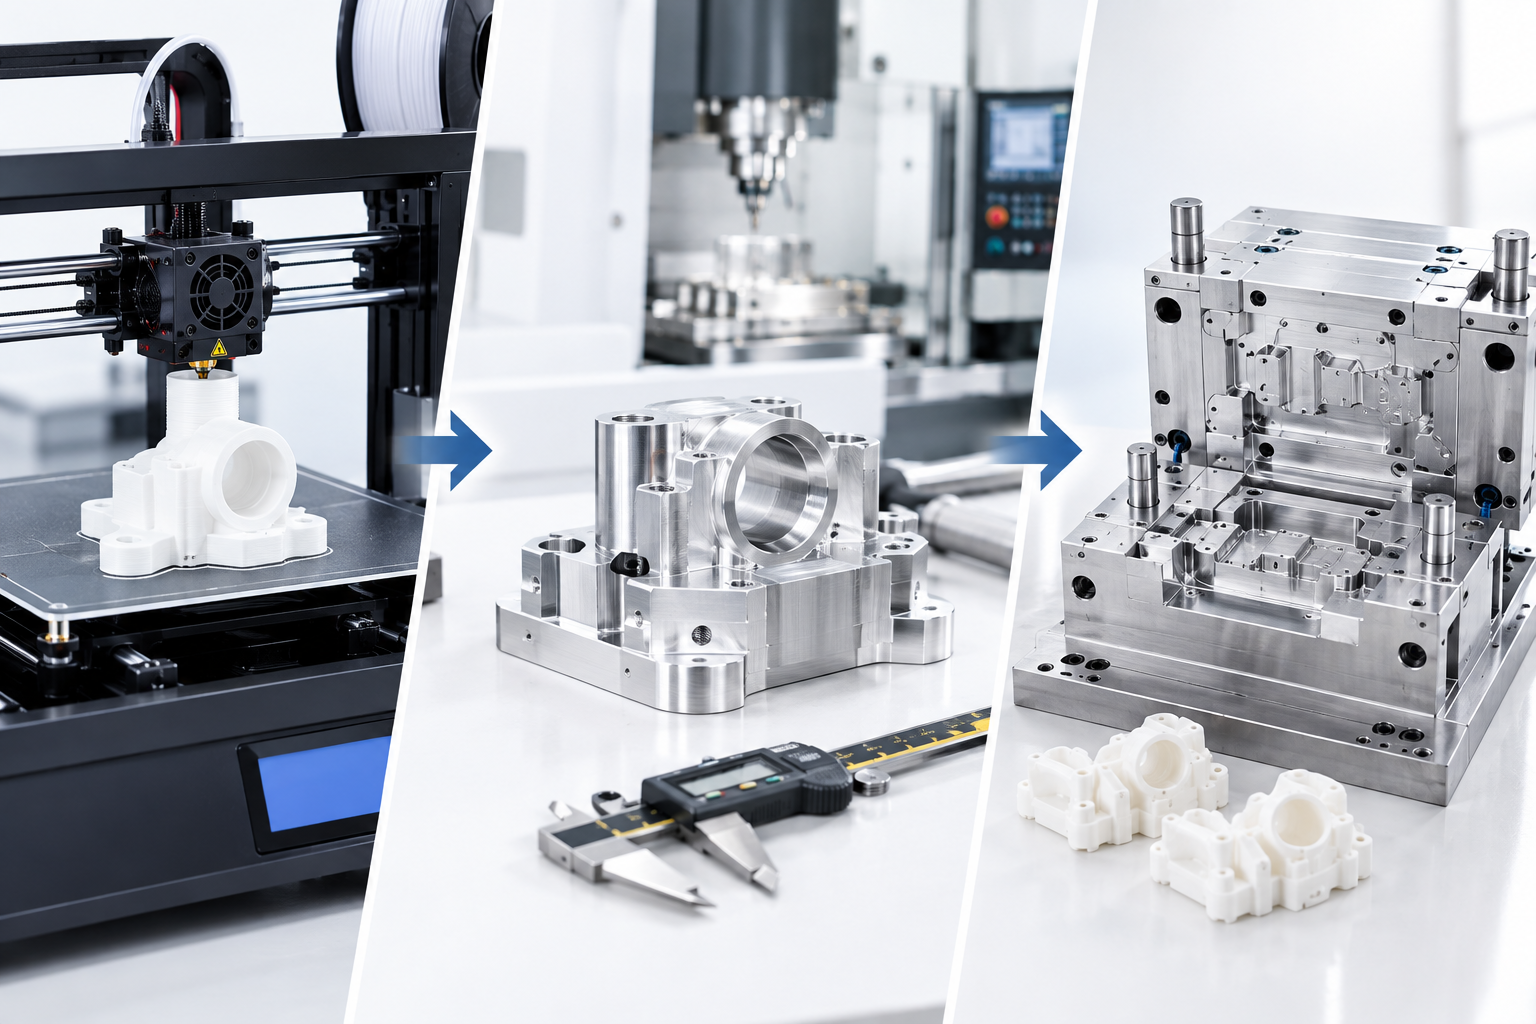
I have watched startups lose months and thousands of dollars because they locked in expensive molds before their design was even stable. So let me walk you through the thinking that actually works. We will cover what rapid prototyping means, the four common types, the best practices, and the core tools.
What Are the Best Practices for an Effective Prototype?
A prototype fails when it tries to answer every question at once. I used to polish every detail before testing, and it wasted time and money. The fix is simple: match your effort to the question you need answered.
The best prototypes focus on the riskiest assumption first, and they do it cheaply. Test the core mechanism or the user interaction before you refine the finish.
Effective prototypes match fidelity to the question, test the highest-risk assumption first, and run tight build–test–learn cycles. You learn more from a rough part in a real hand than from a polished part that nobody touches.

Here is how I break down best practice, based on the failures and wins I have seen in real projects:
- Match fidelity to the question. Use rough, low-cost parts early. Raise the detail only when the question really demands it. Over-polishing early is the most common waste I see.
- Hit the riskiest assumption first. Start with the core mechanism, the key interaction, or manufacturability. Do not build everything at once.
- Run tight build–test–learn cycles. Real-world testing beats planning. Get a part made, test it with users, and learn what breaks.
- Document everything. Keep feedback, decisions, and failures on record. Bring in cross-functional teams and real users early.
- Start Design for Manufacturability (DFM) early. ASK "How will I actually make this at volume?" before you fall in love with a design.
- Batch your iterations. Order several design variants in one run to split setup costs across all of them.
Let me go deeper into the one habit that changes everything: fidelity control. Many younger designers believe a prototype must look finished to feel useful. This is backwards. A rough prototype exists to fail fast, and failing fast is the whole point. When I define the single riskiest question before I build anything, I spend very little money and get very clear answers. I only raise the fidelity when a specific question needs it. For example, a soft-touch feel test needs a real-grade material, while a simple shape check does not. This one mental shift keeps early budgets tiny, pushes real testing into the process, and creates the honest feedback that shapes a better product.
What Are the Four Types of Prototyping?
Prototypes get confusing because we label them by many things. Some people sort by purpose. Some sort by fidelity. I find the Houde and Hill system clearest because it sorts by the design dimension you are testing.
When you know which dimension you explore, you stop guessing and start testing with intent. Each type answers a different risk.
Houde and Hill describe four types: role, look-and-feel, implementation, and integration. Each one tests a different design dimension, so you pick the type that matches the question you need answered.
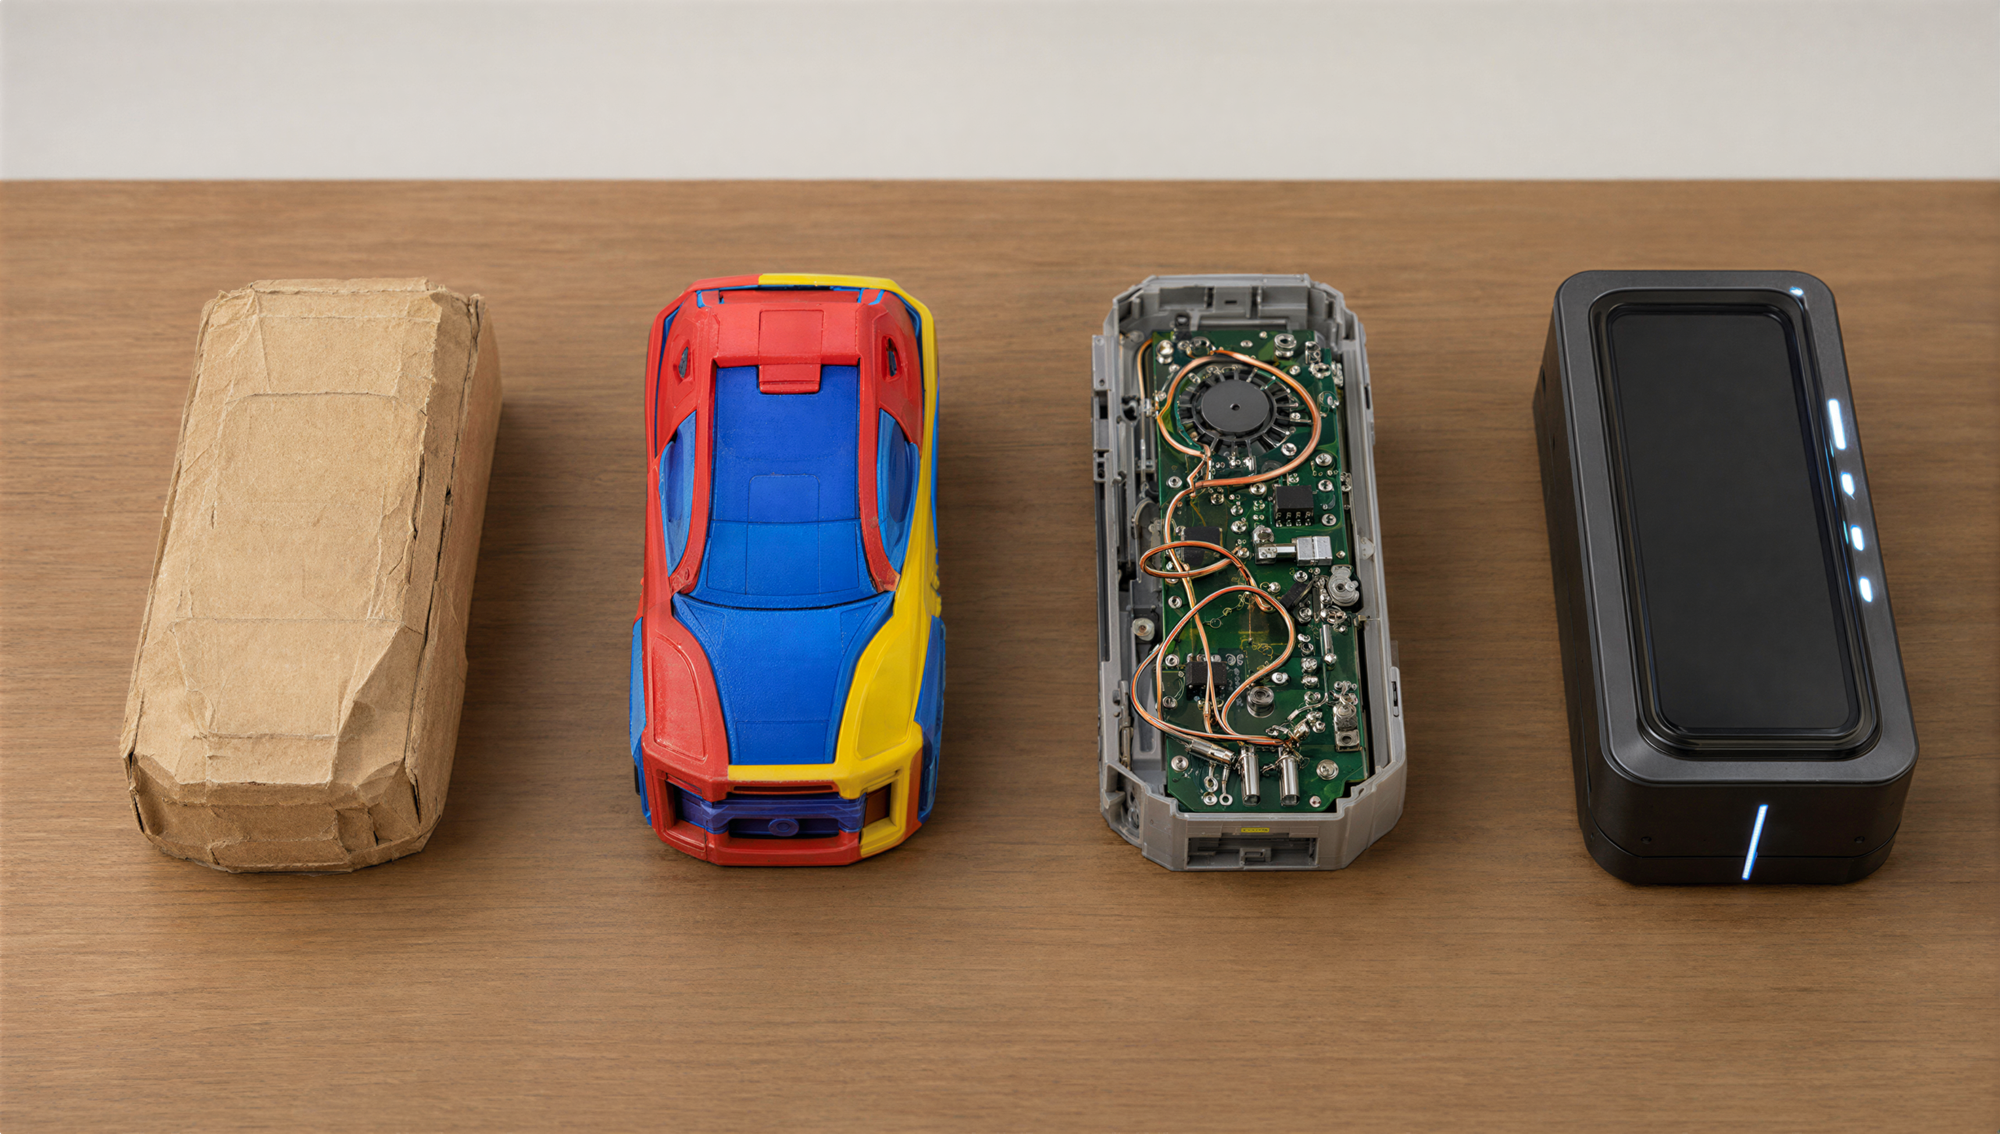
The table below shows how I map the four types to real decisions:
| Prototype Type | What It Tests | Example From My Work | Good For |
|---|---|---|---|
| Role | What the artifact does for the user | A simple block that mimics a handle width | Checking functional value and user need |
| Look-and-feel | Appearance, interaction, and feel | A SLA-printed shell with a soft-touch coat | Validating look, texture, and comfort |
| Implementation | Technical and manufacturing feasibility | A machined nylon part with tight tolerances | Proving it can actually be made |
| Integration | The whole system working together | A full assembly of printed and machined parts | Finding problems where parts meet |
Let me push this further. The secret is that the four types are not a checklist. They are lenses, and you should switch lenses as your risk changes. In my early days, I built one high-fidelity "hero" prototype and hoped it proved everything. It proved nothing well. Now I ask a single question first: "Am I testing value, feel, feasibility, or the whole system?" If I am testing value, I use a rough role prototype and skip the finish. If I am testing feel, I pay for the right material even if the shape is rough. If I am testing feasibility, I machine a near-production part. If I am testing integration, I assemble everything and watch the seams. When you classify your prototype this way, you spend money only on the question that matters, and that is the core of a smart prototyping budget.
What Tools Are Used for Rapid Prototype Development?
Tool selection scares people because the options feel endless. I simplify it into three buckets: additive, subtractive, and bridge processes. Each bucket has strengths, and they line up cleanly with the stage of your project.
The right tool depends on how many parts you need and how much the material must behave like the real thing. Match the tool to the volume and the fidelity required.
The core physical tools are additive 3D printing, subtractive CNC machining, and bridge processes like casting and soft-tool injection molding. These three buckets cover everything from a one-off concept model to a production-grade run of hundreds.
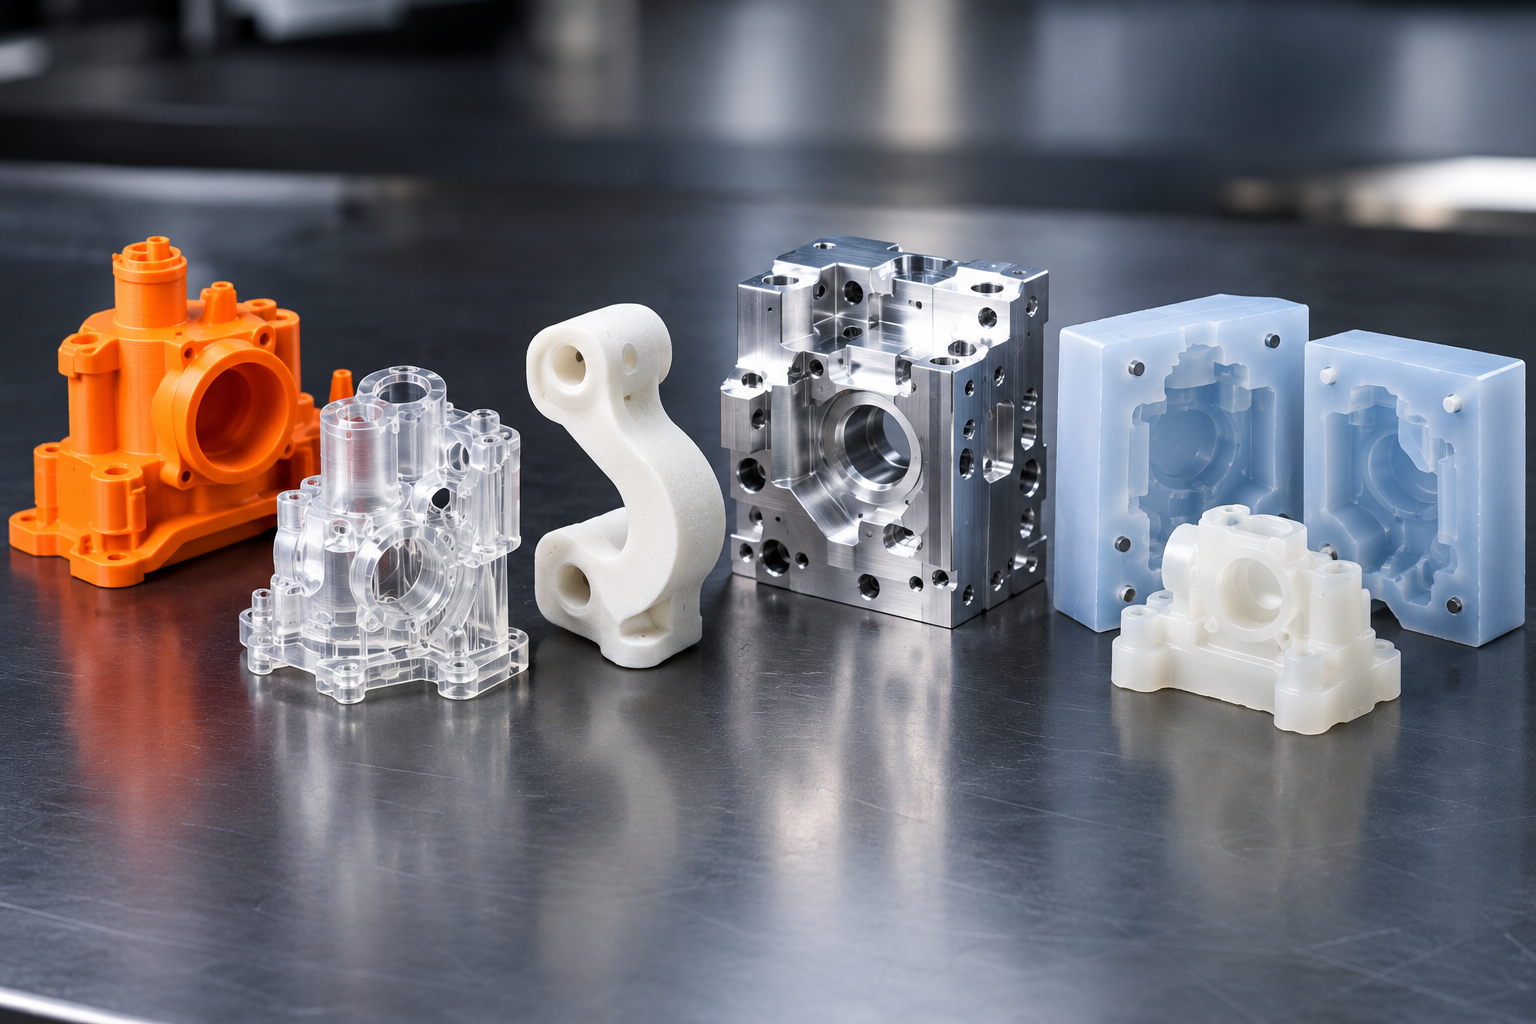
Here is the cost and speed picture from my own quoting experience:
| Tool Group | Process Example | Typical Cost | Lead Time | Best Use |
|---|---|---|---|---|
| Additive | FDM, SLA/resin, SLS/MJF | $50–$500 per part | 1–3 days | Concept forms and visual models |
| Subtractive | CNC machining | $500–$5,000+ per part | 3–10 days | Precision metal and engineering parts |
| Bridge | Urethane casting, soft-tool injection | Varies with volume | Medium | 5–500 production-grade parts |
| Service bureaus | Protolabs, Fictiv, Xometry, Hubs | Instant quotes | Fast | Getting parts without in-house gear |
I want to go deeper on the bridge stage, because it is the step most startups skip. A startup often jumps from a 3D-printed part straight to a hardened steel mold. That leap is expensive and risky. The bridge sits between the two. Aluminum soft-tool injection molding makes 50 to 500 production-representative parts without the high cost of hardened steel. Urethane casting gives you 5 to 50 parts when volume is lower. These processes hand you parts made of near-production material, so you can test strength, feel, and assembly with realistic confidence. I have used this to support pilot sales, investor demos, and small market tests. You get honest data before you spend on production tooling, and the transition into volume manufacturing becomes natural instead of terrifying.
What Is Rapid Prototyping in Manufacturing?
People say "rapid prototyping" and mean many things. In manufacturing, the meaning is specific. It is the fast making of physical parts straight from CAD data, using additive, subtractive, or quick cast methods. The goal is validation, not mass production.
Traditional processes like injection molding need expensive hard tooling. That makes low-volume custom parts costly. Rapid prototyping solves this by compressing each iteration into hours or days.
In manufacturing, rapid prototyping quickly fabricates physical parts from CAD data to validate form, fit, function, ergonomics, and manufacturability. It compresses iteration to hours or days and cuts risk and development cost.
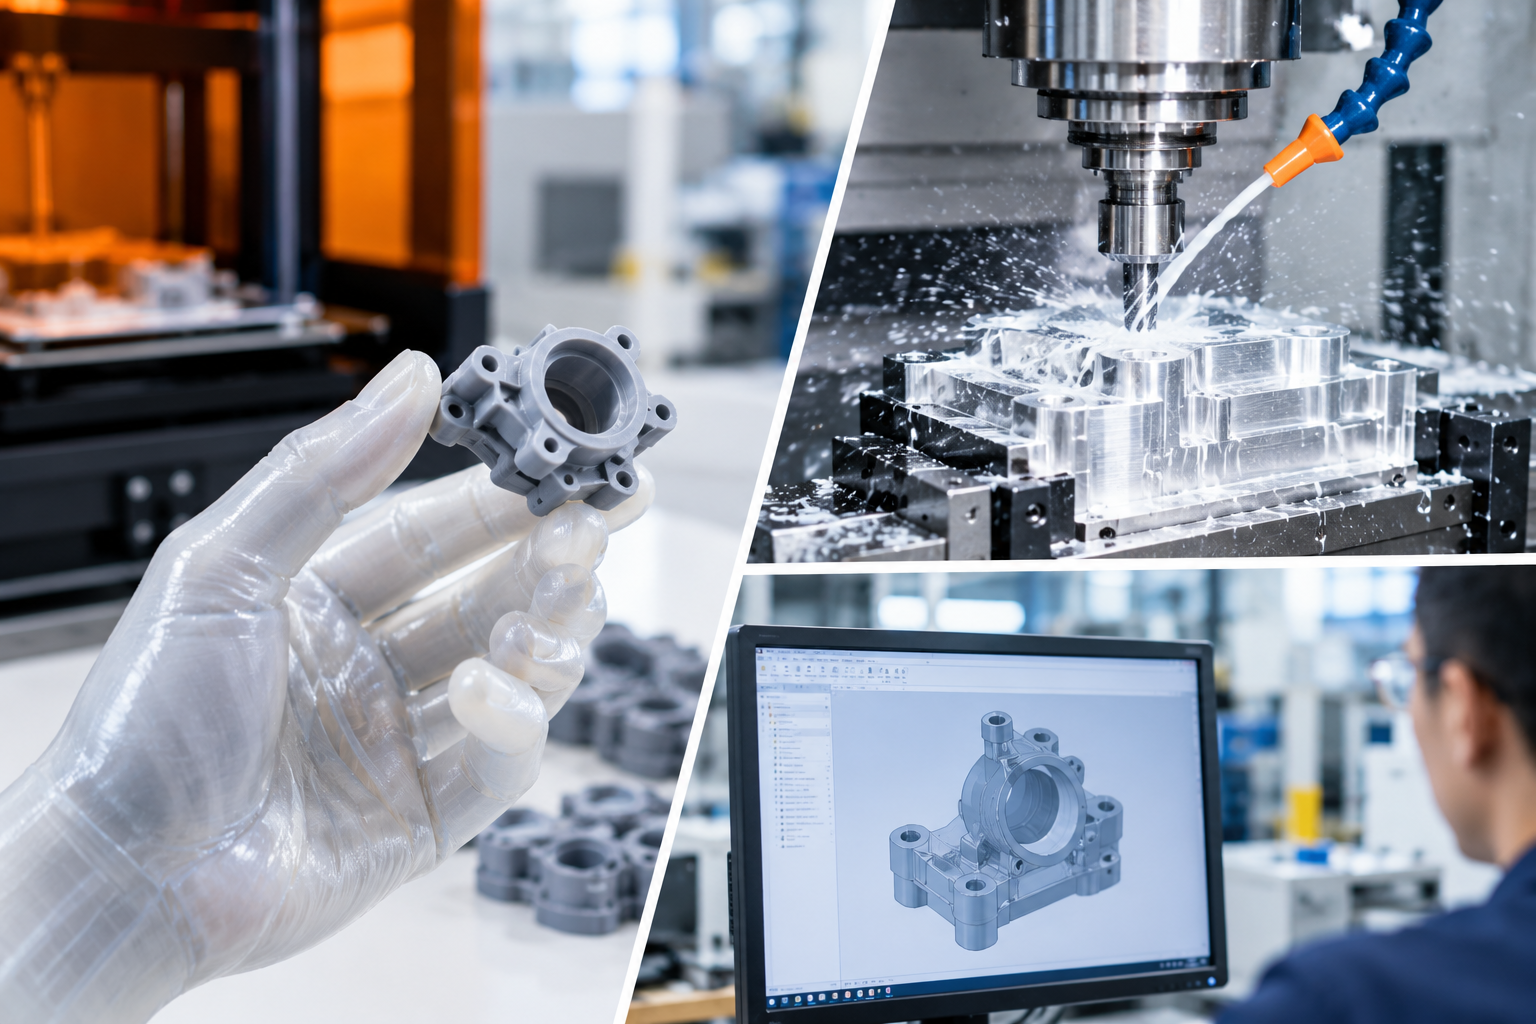
Here is how rapid prototyping compares to the traditional path:
| Stage | Traditional Path | Rapid Prototyping | Why It Matters |
|---|---|---|---|
| First part | Hard tooling first, high cost | Print or machine one part | Test before you invest |
| Changes | Slow and costly mold edits | Cheap and fast reprints | Iterate with real feedback |
| Volume build | Jump straight to mass production | Bridge through soft tooling | De-risk the production leap |
| Overall cost | High up front | Spread and lean | Protect the startup budget |
Let me go deeper on the core reason this matters for startups. The whole point of rapid prototyping is to fail early and fail cheap. In traditional manufacturing, you commit to a mold before you know if the design works. That is a huge bet on an unproven part. Rapid prototyping flips the order. You ask a question, you make a rough part, you test it, and you learn. When the design fails, the loss is small. When it works, you have real data to justify the next spend. I have seen the difference play out many times. The teams that win treat the prototype as a decision-making tool, not a showpiece. They ask "What question is this part answering?" before every build. That single habit, repeated across a project, keeps budgets lean and keeps the design honest throughout the whole development cycle.
Conclusion
A staged hybrid path wins: 3D printing first, then machining, then soft-tool bridge to small-batch. Protect your budget, test your biggest risk first, and let the prototype guide your decisions.
About Me
KENVOX INDUSTRIAL (HONGKONG) CO., LTD is a Hong Kong–based contract manufacturing group (est. 1989) focused on plastic, silicone, and metal tooling and finished parts, with OEM/ODM, design support, and one-stop turnkey project delivery from concept through mold, production, secondary processes, assembly, packaging, and export logistics. The group operates wholly owned and partner facilities in Dongguan, Huizhou, Shenzhen (commercial/engineering), and Vietnam (plastic, silicone, and precision metal), and promotes primarily as a manufacturer platform rather than a generic trading broker. Website: www.kenvox.com.
Services Offered:
- Product & engineering design: Component design, reverse engineering, DFM/DFMA, tooling/fixture/gauge design, and drawing refinement for manufacturability.
- Prototyping: CNC prototypes (plastic/metal), silicone sample molds, silicone overmolding for small plastic prototype runs, and engineering/appearance validation before production tooling.
- Injection mold design & manufacturing: Plastic injection molds (including gas-assisted, insert, precision, and two-shot / overmolding), plus related mold flow analysis and DFM reporting.
- Custom manufacturing — plastic: High- and low-volume injection molding, dual-color injection, overmolding, insert molding; support for clean-room medical molding (up to Class 10,000 where applicable).
- Custom manufacturing — silicone: Compression molding, LSR (liquid silicone) injection, dispensing/epoxy, and related finished silicone parts.
- Custom manufacturing — metal: CNC machining, die casting, stamping (sheet metal), and coordinated metal supply through JV/partner metal operations.
- Secondary processing & assembly: Silk screen and pad printing, laser engraving, painting/UV coating, sand blast texturing, vacuum plating, ultrasonic welding, simple structural assembly, and coordination of anodizing, electroplating, powder coating, and other outsourced finishes.
- Supply chain & project operations: Sourcing of related components (electronics/EMS, packaging, standard parts, wood/glass/textiles via vetted suppliers), warehousing, multi-destination shipping, and testing/certification coordination (e.g. CE, FCC, UL, FDA, LFGB as required by product/market).
Certifications and Quality Assurance:
KENVOX operates under ISO 9001, IATF/TS 16949 (automotive quality), and ISO 14001, with incoming-to-outgoing QC, dedicated QA resources, and ERP-backed documentation and traceability for molds and production.
Team and Communication:
Sales and project staff are positioned for direct English communication with overseas clients; foreign-trade engineers typically bring 10+ years of industry experience, with appointed project leaders per case for faster quotations (streamlined internal approval vs. typical factory hierarchies), online technical reviews, and ongoing follow-up through mold trials (T0/T1…), golden samples, and mass production.
Production Capabilities:
Group scale (figures vary by document/year—use ranges when speaking to customers): roughly 600–1,300+ employees, ~30,000–40,000+ m² manufacturing footprint, 70–80% export orientation. Plastic injection capacity includes 190+ injection machines (about 75–1,000 ton class across the network, with dual-color capability and partner access to ~1,000 ton machines), 1300+ tons/year plastic processing capacity cited for major plastic sites, and 60+ silicone-related machines (compression, transfer, LSR, dispensing). Mold shop highlights include high-speed CNC (e.g. Mikron), EDM / mirror EDM, slow-wire EDM, grinding, and CMM measurement; Huizhou-scale plastic operations cite on the order of ~400 molds/year and ~5,000 T injection parts (site-dependent).
Global Reach:
Primary markets: North America, South America, Western/Eastern Europe, East Asia, Middle East, and Australia, with reference customers/brands including CASIO, BROTHER, BBK, KINPO, LADA, and automotive/industrial names (e.g. VAZ, GAZ). U.S. sales support is referenced (California); European branch is planned rather than fully established. KENVOX targets mid-to-high-end buyers—especially industrial/product design firms, brand owners, contract manufacturers/assemblers, sourcing firms, and regional mold shops subcontracting to China/Vietnam—who value turnkey execution, dual-material molding, medical/clean-room options, and responsive project management over lowest-unit-price-only sourcing.