


How to Control Injection Molding Surface Finish?
I know that a single scratch or dull spot can make your high-end product look like a cheap toy. I have seen it happen too many times.
I control surface finish by combining proper mold preparation, optimized process parameters, and smart material selection into one cohesive strategy.

I learned early on that surface finish is not just about "making it shiny." It is about consistency, durability, and perceived value. I focus on the entire system to get it right.
1. How Does Mold Surface Preparation and Texturing Control Final Part Finish?
I once rejected a batch of parts because the mold surface was not polished correctly. It looked fine to the naked eye, but under studio lights, the defects were obvious.
I choose between SPI grades and Mold-Tech textures to set the baseline for the final part finish and mold release performance.
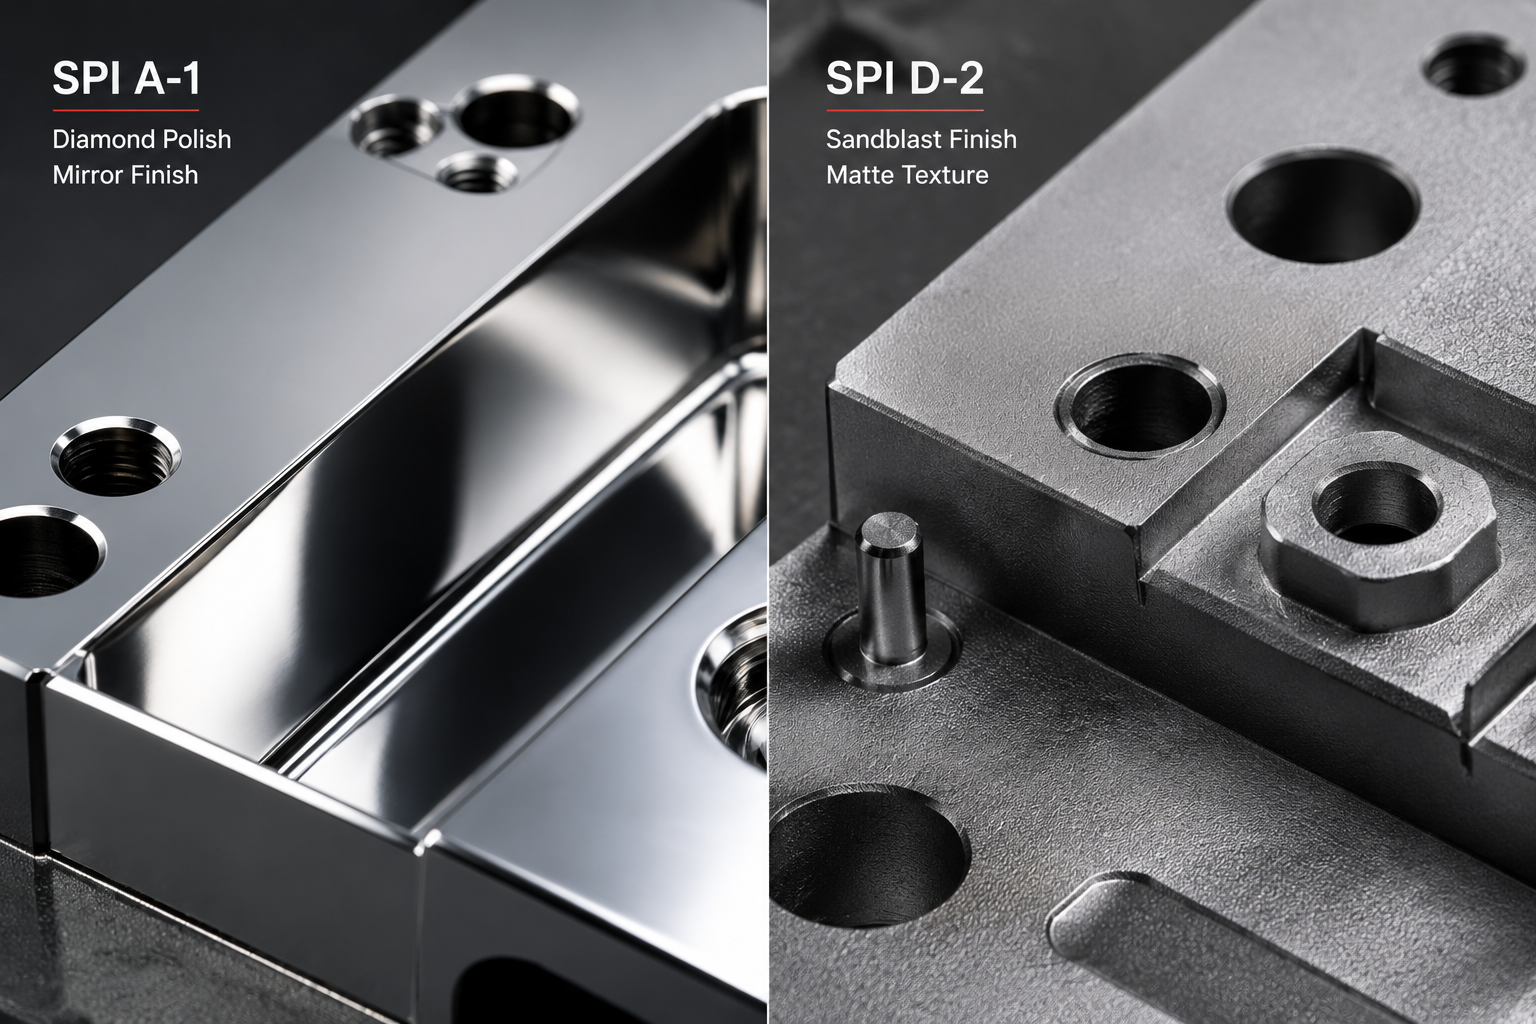
I see the mold as the "master" of the part. If the master has a flaw, the part will too. I take mold prep very seriously. I use SPI standards to classify the finish from high-gloss to matte.
I break it down into categories like this:
| SPI Grade | Texture Source | Gloss Level | Typical Use |
|---|---|---|---|
| A-1 | Diamond Paste | Mirror | Lenses, Reflectors |
| B-1 | Sandpaper | Semi-Gloss | Consumer Housings |
| C-3 | Stoning | Matte | Interior Panels |
| D-2 | Sandblasting | Textured | Grip Surfaces |
I also use Mold-Tech for more complex textures like leather or wood grain. I know that a deeper texture requires more draft angle. I always check the draft-to-texture ratio before I finalize the tool. I look for scratches or pitting in the steel. I fix them early. I know that fixing a mold after production is much more expensive than doing it right the first time.
2. How Do Process Parameters Like Temperature, Speed, and Pressure Affect Surface Quality?
I have seen beautiful molds produce dull parts because the machine settings were wrong. It is frustrating when the hardware is perfect but the result is not.
I optimize melt temperature, injection speed, and pack pressure to ensure the resin fills the mold texture and cools uniformly.
 )
)
I treat the process as a balance. If I go too fast, I get shear heating. If I go too slow, the resin freezes too soon. I focus on these three areas:
I adjust the melt temperature. Higher temperature improves flow. It helps the resin replicate fine details. I adjust the mold temperature. Higher mold temp gives a better gloss. It allows the surface molecules to orient better. I adjust the injection speed. Fast speed helps fill thin walls. Slow speed reduces jetting and flow marks.
I look at the pack pressure. High pressure reduces sink marks. It pushes more material into the mold. I look at the cooling time. Consistent cooling prevents warping. It locks in the surface quality.
| Parameter | High Value Effect | Low Value Effect |
|---|---|---|
| Melt Temp | Higher Gloss, Risk of Flash | Dull Surface, Short Shots |
| Mold Temp | Better Replication, Longer Cycle | Flow Lines, Stress Marks |
| Pack Pressure | Denser Surface, Less Sink | Porosity, Sink Marks |
I always run a DOE (Design of Experiments). I find the "sweet spot" for each material. I know that every resin has a specific processing window. I stay within that window to keep the finish perfect.
3. How Can Material Selection and Part Design Improve Surface Finish Consistency?
I chose a filled resin once without adjusting the part design. The gloss vanished. The texture looked washed out. I had to redesign the whole part.
I select resins with high-gloss potential and use uniform wall thickness to maintain surface finish consistency.
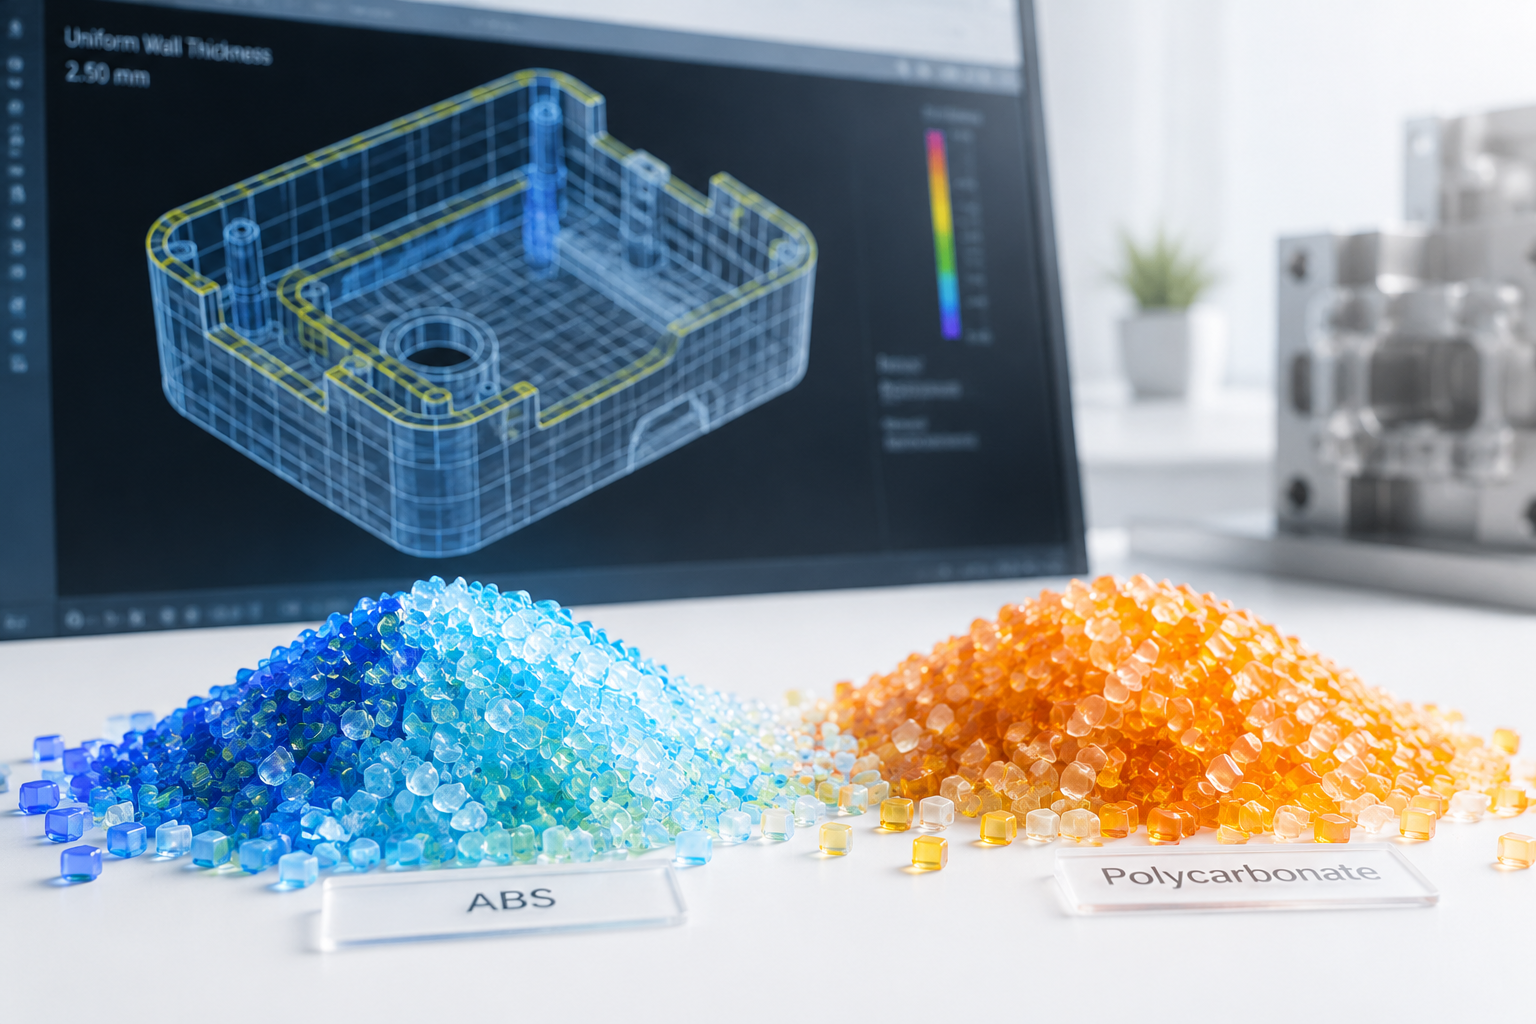
I think about material first. ABS and Polycarbonate are great for gloss. Filled materials (like glass-filled) are harder to polish. They break the surface tension. I choose materials that match the finish requirement.
I think about design. I use uniform walls. I avoid thick sections. Thick sections cause sink marks. Sink marks ruin the finish. I use proper draft. Textured surfaces need more draft. I use radii instead of sharp corners. Sharp corners create stress and flow hesitation.
I consider the gate location. I place the gate where the flow is balanced. I avoid flow hesitation. I avoid weld lines on the visible surface. I use simulation software to predict the flow. I see where the knit lines will be. I move the gate to hide them.
I always think about the end user. Will the part be handled? Will it be scratched? I choose a textured finish if I need to hide wear. I choose a high-gloss finish if I need a premium look. I know that design and material are the foundation. I build the finish on top of them.
Conclusion
I control surface finish by mastering the mold, the process, and the material. I know that consistency is the key to quality. I turn a potential headache into a competitive advantage.