


How to Improve Cooling Efficiency in Injection Molds?
I have seen one thing again and again in mold shops. Cooling looks simple, but it controls the whole cycle, the quality, and the cost.
I believe cooling efficiency is one of the biggest leverage points in injection molding. When I improve cooling, I usually reduce cycle time, control shrinkage better, and make production more stable.
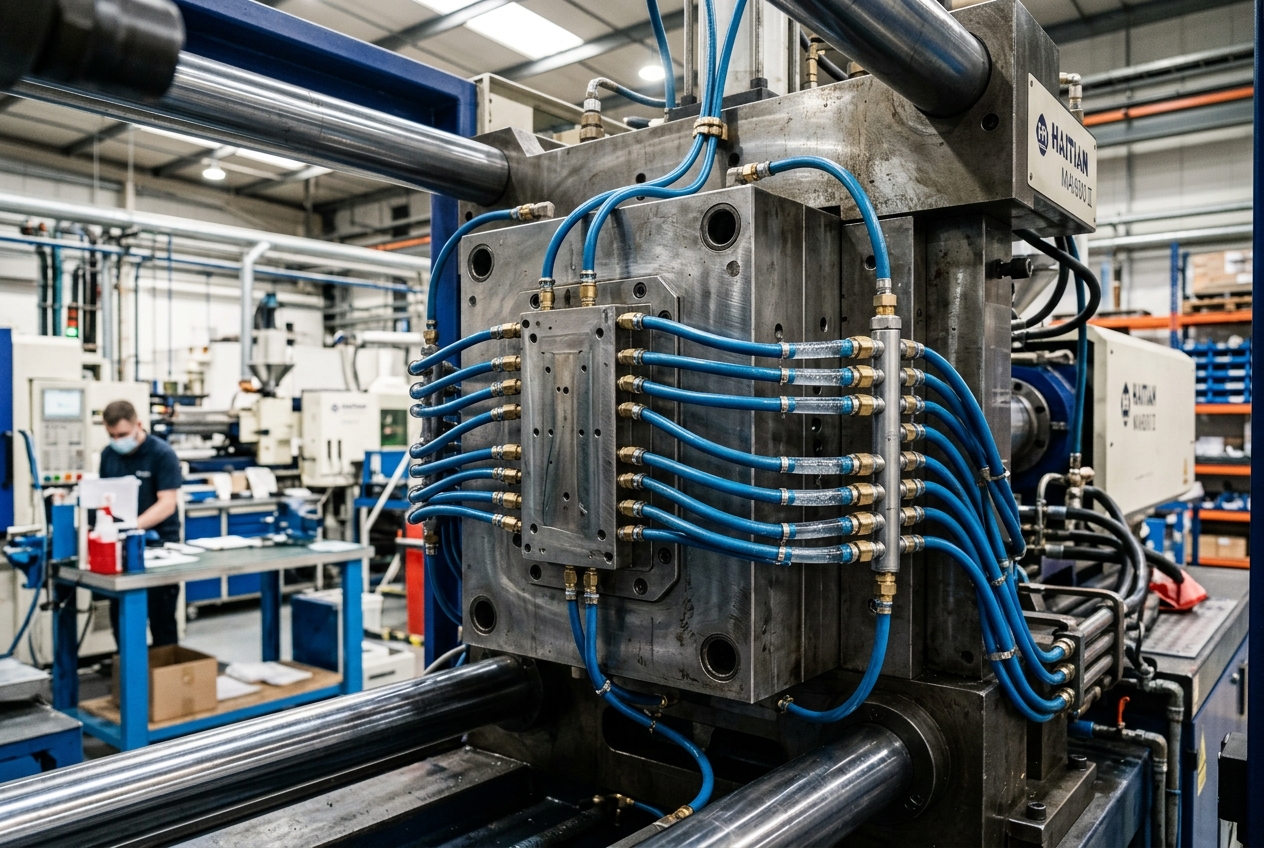
I always start with the same idea. I do not try to cool faster first. I try to cool more evenly, because even cooling usually brings speed, quality, and lower cost at the same time.
How to increase cooling efficiency?
I have learned that poor cooling often hides inside a mold that looks fine from the outside. The surface may look good, but the heat stays trapped in thick areas.
I increase cooling efficiency by moving heat out faster and more evenly. I use better channel layout, better channel position, and better heat transfer materials. I also check if the mold has hot spots that slow everything down.
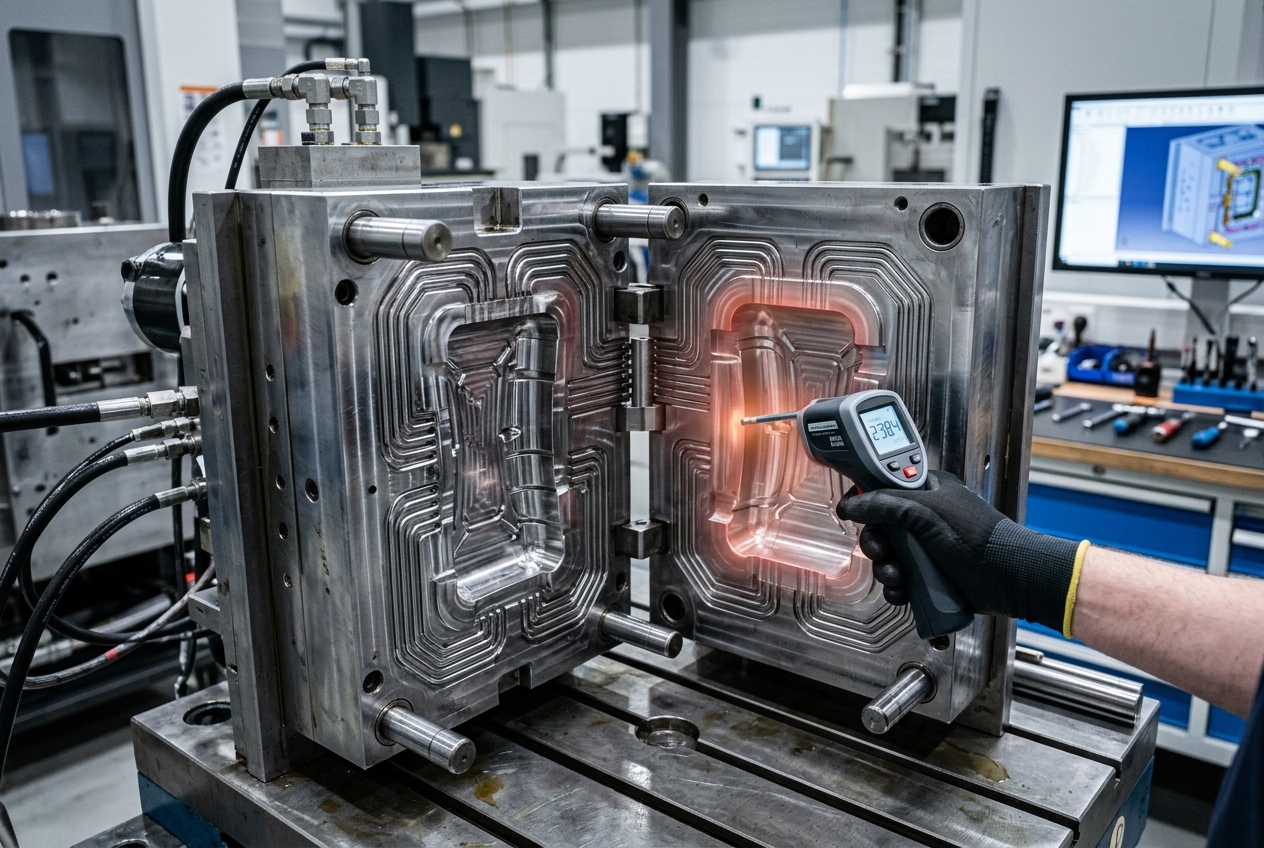
1. I use conformal cooling when the part shape is complex
When I work on a complex part, I do not rely on straight drilled channels alone. I prefer conformal cooling when the budget and tool structure allow it. These channels follow the part shape more closely, so they remove heat from the cavity more evenly. I have seen this reduce local hot spots very clearly.
2. I keep the channel layout simple and balanced
I also keep channel diameter, spacing, and flow path under control. I prefer several smaller channels instead of only a few large ones when the mold design supports it. I place the channels close to the thickest section of the part, but I still keep safe steel strength. I also check both mold halves, because one side cooling faster than the other can create warpage. I often use a simple rule in practice: the cooling system must match the part, not just the mold base.
3. I use the right material and water conditions
I pay attention to mold material and water flow. High thermal conductivity materials can move heat faster, and that helps a lot in problem areas. I also make sure the water flow stays in turbulent mode when possible, because turbulent flow removes heat better than weak flow. I keep the mold temperature stable, because unstable water temperature can create unstable part quality.
| Cooling factor | What I check | Why it matters |
|---|---|---|
| Channel position | Near thick sections | It removes heat where heat stays longest |
| Channel shape | Conformal if possible | It gives more even cooling |
| Flow condition | Stable and strong | It improves heat transfer |
| Mold material | High conductivity if needed | It speeds heat movement |
How to reduce cooling time in injection molding?
I have found that cooling time is often the largest part of the full cycle. When I shorten it, I usually increase output right away.
I reduce cooling time by making the part release heat faster. I also keep the part from cooling unevenly, because uneven cooling often forces me to wait longer than needed.
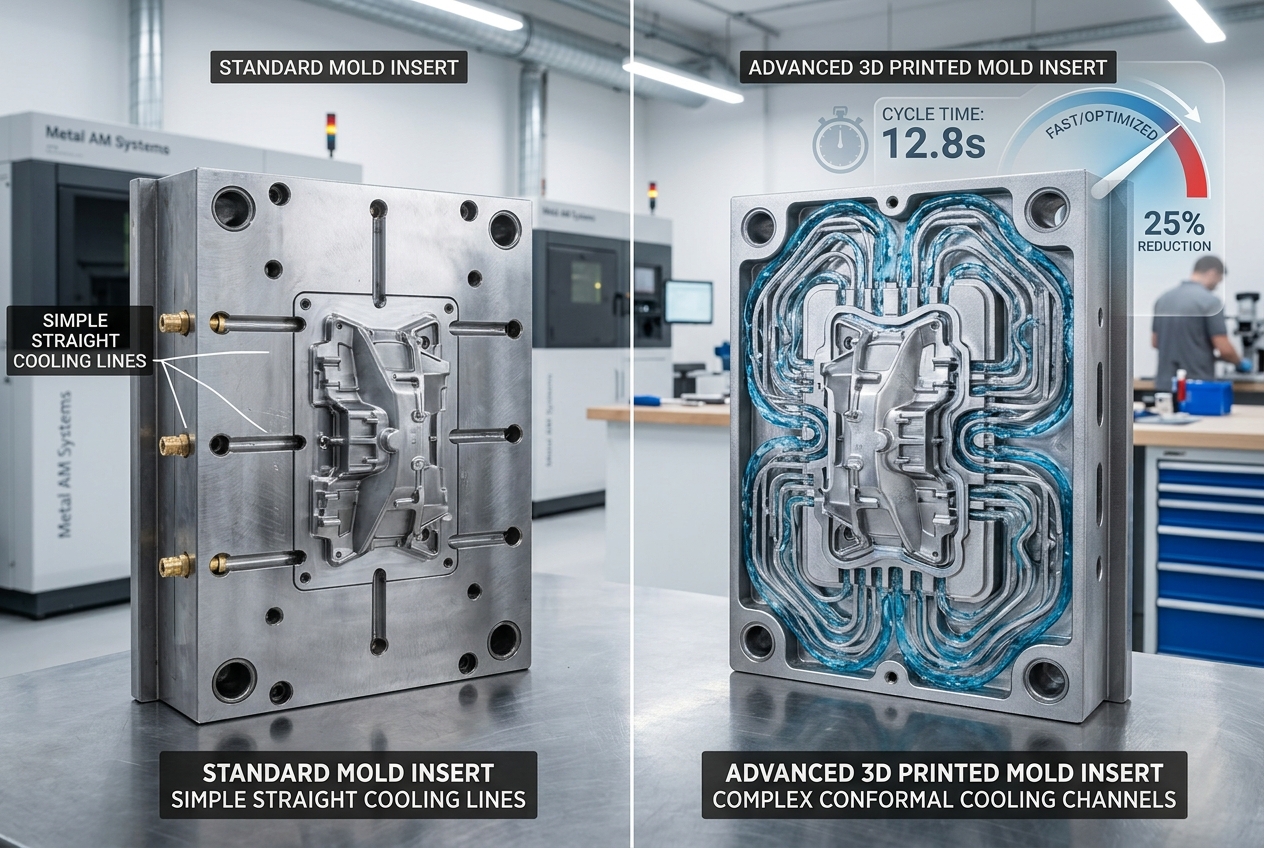
1. I watch part wall thickness first
I always begin with wall thickness. Thick walls hold heat for a long time, and that follows a simple physical rule. If I can reduce wall thickness while keeping strength, I usually gain the biggest time saving. I also avoid sudden wall jumps, because they create hot zones and sink marks.
2. I control mold temperature with care
I do not chase the coldest water setting. I keep mold temperature under control, but I still balance it with fill quality and release behavior. If the mold gets too cold, the part may trap stress, and the surface may not fill well. I prefer a steady water temperature and a stable temperature difference between inlet and outlet.
3. I use simulation before I cut steel
I trust simulation tools because they help me see heat flow before production starts. I use them to find hot spots, compare channel layouts, and check cycle time impact. In my experience, a small design change early in the project can save a lot of time later.
Cooling time control points
| Control point | My action | Result |
|---|---|---|
| Wall thickness | Reduce if possible | Less heat storage |
| Mold temperature | Keep stable | Better repeatability |
| Cooling layout | Improve heat path | Faster heat removal |
| Simulation | Check before toolmaking | Fewer trial rounds |
How to increase productivity in injection molding?
I have always believed that productivity is not only about machine speed. It is about how many good parts I can make in one hour without stopping the line.
I increase productivity by reducing cycle time, cutting defects, and keeping the process stable. Cooling plays the main role, because a faster and more stable cooling stage gives me more usable output.
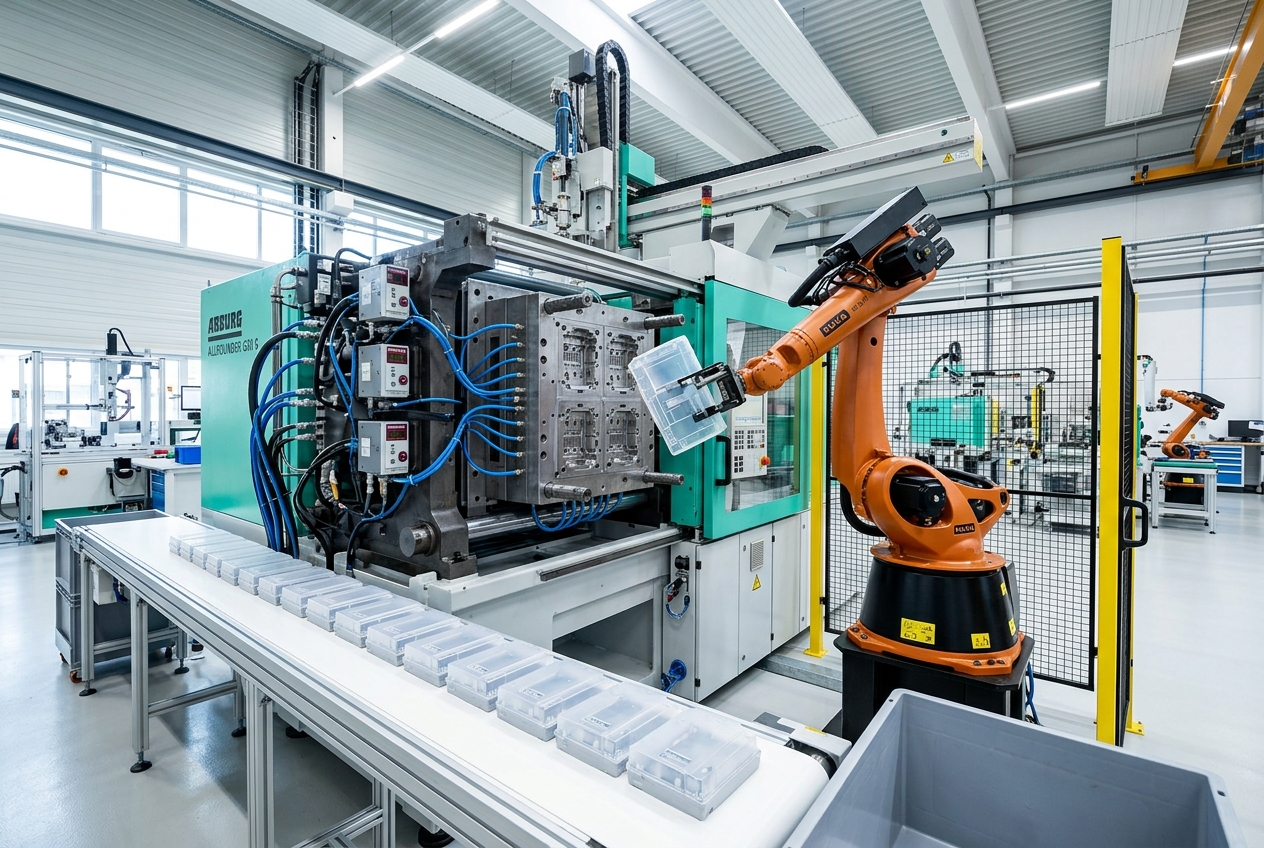
1. I treat cooling as a production driver
When cooling improves, the machine spends less time waiting. That means more shots per shift. It also means less scrap, because stable cooling reduces warpage, shrinkage, and dimension drift. I have seen many projects where one cooling fix gave better output than adding another machine.
2. I connect cooling with the full process
I never isolate cooling from the rest of the process. I check gate design, packing pressure, ejection, and automation together. If cooling is good but the gate freezes too early, the part can still fail. If ejection starts too soon, the part may deform. I want the full process to work as one system.
3. I keep maintenance simple and regular
I also clean water lines, check flow, and watch for scale or blockage. A good cooling design can still fail if the water path gets dirty. I have seen productivity drop only because one channel was partly blocked. That is why I treat maintenance as part of productivity.
How to solve shrinkage problem?
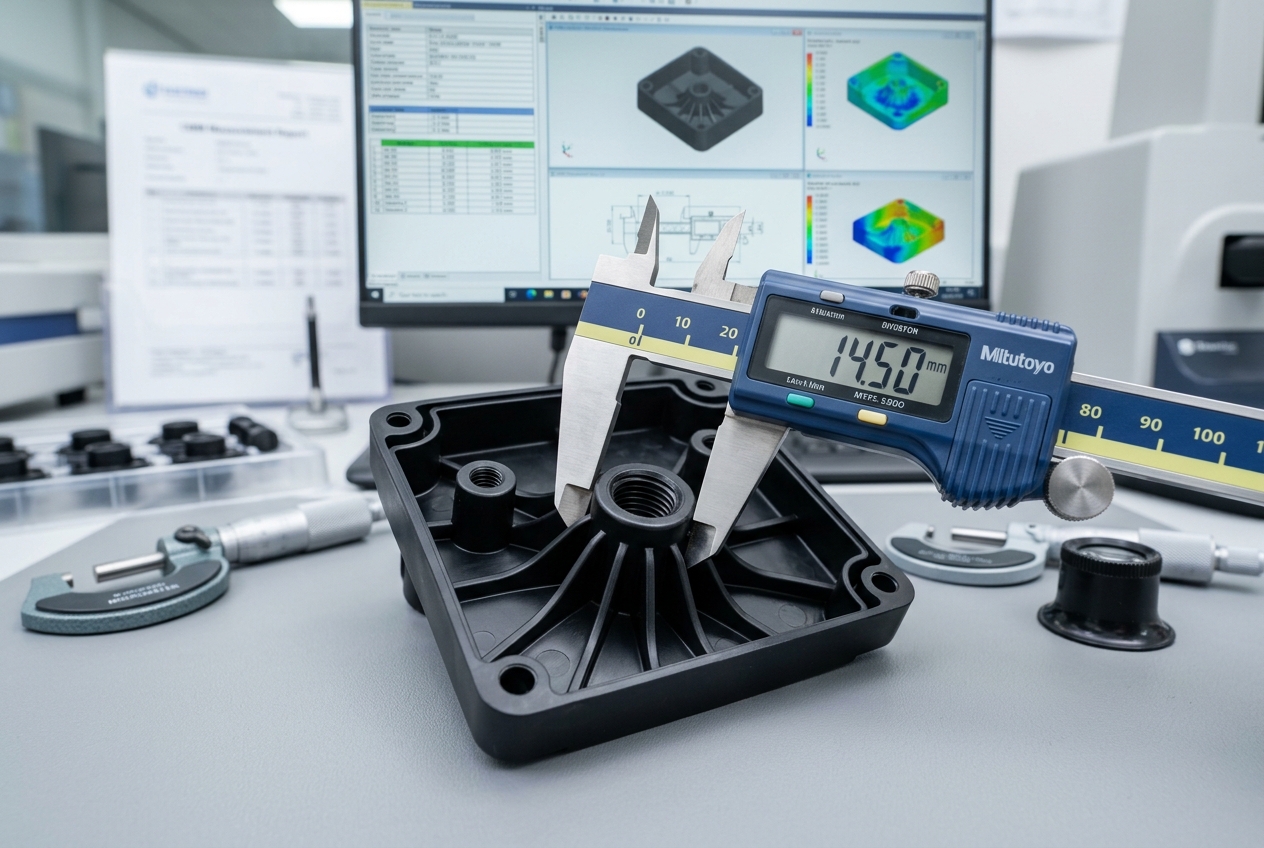
I have noticed that shrinkage often looks like a material problem, but cooling is often the real cause. When one area cools slower than another, the part pulls inward and leaves marks or shape error.
I solve shrinkage by making cooling more uniform first. Then I adjust packing, gate design, and part geometry. I do not start with process changes alone, because that often only hides the root cause.
1. I focus on uniform cooling
I try to remove heat at the same pace across the part. I pay special attention to thick sections, ribs, bosses, and corners. These areas hold heat longer, so they shrink later. When I improve cooling balance, I often reduce sink marks and internal voids at the same time.
2. I support cooling with packing and gate design
I use packing pressure and time to help the cavity stay full while the part solidifies. I also check gate position. A better gate can help the resin flow and pack more evenly. If the gate is too small or poorly placed, the shrinkage problem gets worse even if cooling is good.
3. I design the part to shrink less from the start
I prefer even wall thickness and simple geometry when the product allows it. I also choose materials with known shrinkage behavior and I plan shrinkage compensation in the mold design stage. In many cases, I solve the shrinkage problem before the mold even reaches the press.
My shrinkage checklist
| Area | What I check | What I want |
|---|---|---|
| Cooling balance | Hot spots and cold spots | Even heat removal |
| Packing | Pressure and time | Better cavity support |
| Gate design | Size and location | More uniform filling |
| Part design | Wall thickness and ribs | Less uneven shrinkage |
Conclusion
I see cooling efficiency as the fastest way to improve mold speed, part quality, and cost. I improve the mold first, then the process, and I get better results.
My Role
About me
I am KENVOX. I come from Hong Kong, and I work as a one-stop manufacturing partner. I help clients turn an idea into a real product through design, molding, production, finishing, and sourcing. I believe good cooling design is part of good molding, and I always treat it as a key path to better results.
About him/her
I write for Kyle, a product and mold designer who knows the pressure of tight deadlines, shrinkage control, and cost limits. I keep my advice practical, direct, and useful for real mold work.