


Frustrated by choosing between expensive tooling and slow unit output for your next product launch? Picking the wrong manufacturing method burns your cash and delays your market delivery.
Use 3D printing for low volumes up to 1,000 parts with rapid design iterations. Choose injection molding for high volumes over 1,000 parts where low unit costs, high precision, and fast cycle times matter most.
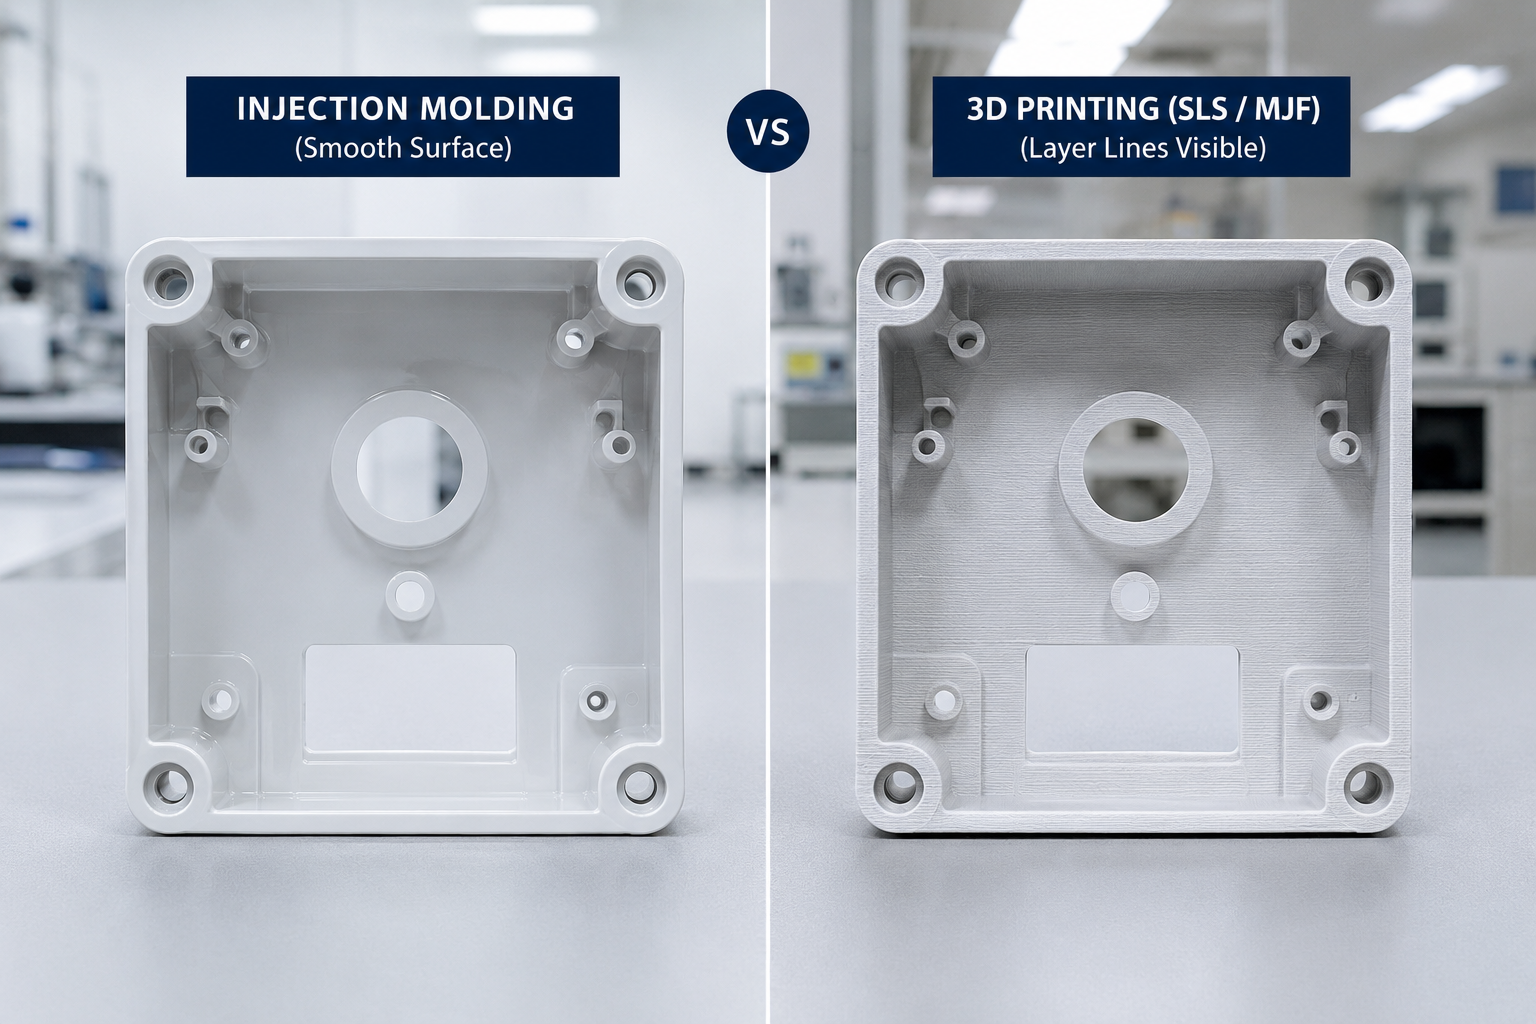
I have spent over ten years designing molds and plastic components for consumer electronics. Early in my career, I almost ruined a client project by picking the wrong process. Read this guide to avoid costly mistakes and choose the right method for your setup.
How Do Injection Molding and 3D Printing Compare for Mass Production?
Struggling to balance initial mold costs against slow unit production speeds? Making the wrong choice drains your budget and stalls your product launch.
3D printing builds parts layer by layer without upfront tooling costs, making it ideal for low volumes. Injection molding forces molten plastic into a metal cavity, delivering cheap unit costs at high volumes.
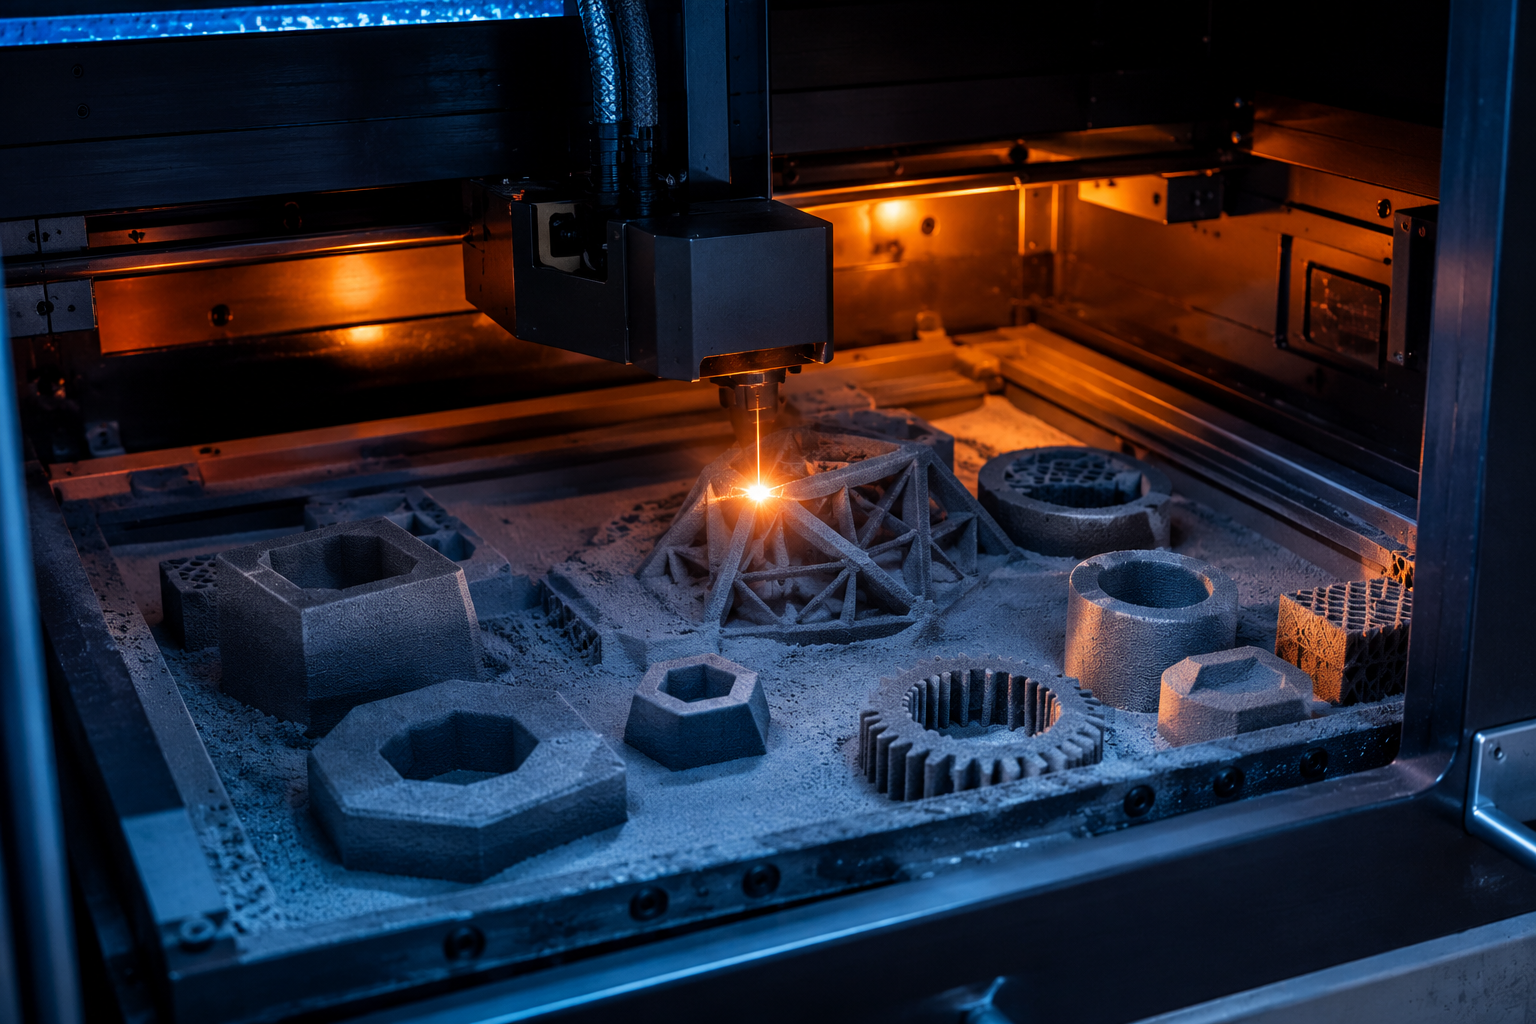
Understanding Core Process Mechanics and Tooling Investment
3D printing is an additive manufacturing process. The machine creates parts directly from a 3D CAD file by adding material layer by layer. You do not need custom metal molds to start production. This removes initial tooling costs completely. But each part takes hours to complete. The machine cost stays high for every single unit you make.
Injection molding is a subtractive and formative process. We design and cut a steel or aluminum mold cavity first. This tooling phase requires significant initial capital and takes several weeks. Once the mold is ready, the machine injects liquid plastic under high pressure. Cycle times take seconds instead of hours. The tool cost spreads out over thousands of units, driving down the unit cost dramatically.
| Manufacturing Aspect | 3D Printing (Additive) | Injection Molding (Formative) |
|---|---|---|
| Upfront Tooling Cost | $0 (No mold needed) | High ($3,000 – $50,000+) |
| First Part Lead Time | Hours to Days | 2 to 6 Weeks |
| Unit Cost at Low Volume | Low to Moderate | Extremely High |
| Unit Cost at High Volume | High (Stays Flat) | Very Low |
| Production Speed | Slow (Hours per part) | Fast (Seconds per part) |
| Design Flexibility | Extreme (Internal voids, undercuts) | Restricted (Requires draft, uniform walls) |
When Should You Choose 3D Printing for Production Runs?
Are you facing tight product launch dates and frequent design changes? Spending tens of thousands on early mold tooling will trap your capital and lock your design.
Choose 3D printing when your production run is under 1,000 units, your design needs complex internal features, or you need final parts delivered within days.
Identifying Ideal Low Volume and Complex Design Scenarios
3D printing works best during early product launches and low-volume production. When your production run stays below 1,000 units, the cost of custom tooling makes injection molding too expensive. I often recommend 3D printing when a customer needs custom enclosures for niche markets. You test the market without risking capital on expensive molds.
Design complexity is another major reason to choose 3D printing. Additive processes build internal channels, organic lattices, and complex undercuts easily. These geometries are impossible or very costly to cut into a metal mold cavity. If your part design changes frequently based on user feedback, 3D printing lets you update the digital CAD file instantly. You print new parts immediately without paying mold modification fees or waiting for tool rework.
Material Limitations and Surface Finishing Reality
- Layer Anisotropy: 3D printed parts are weaker along the vertical Z-axis because the layers bond together heat by heat.
- Surface Roughness: Printed parts show visible layer lines that require manual sanding, bead blasting, or vapor smoothing.
- Material Selection: Printing offers standard resins and filaments, but it cannot match the vast catalog of commercial engineering plastics.
- Dimensional Tolerance: Heat variations during printing can cause part warping, making tight tolerances harder to maintain.
When Should You Transition to Plastic Injection Molding?
Is your customer demand surging while your unit printing costs eat all your profit margins? Staying on 3D printers during scale-up destroys your bottom line.
Transition to injection molding when your order volume exceeds 1,000 units, your design requires strict engineering material specs, or you need tight dimensional tolerances.
Scaling Production with Low Unit Costs and Superior Speed
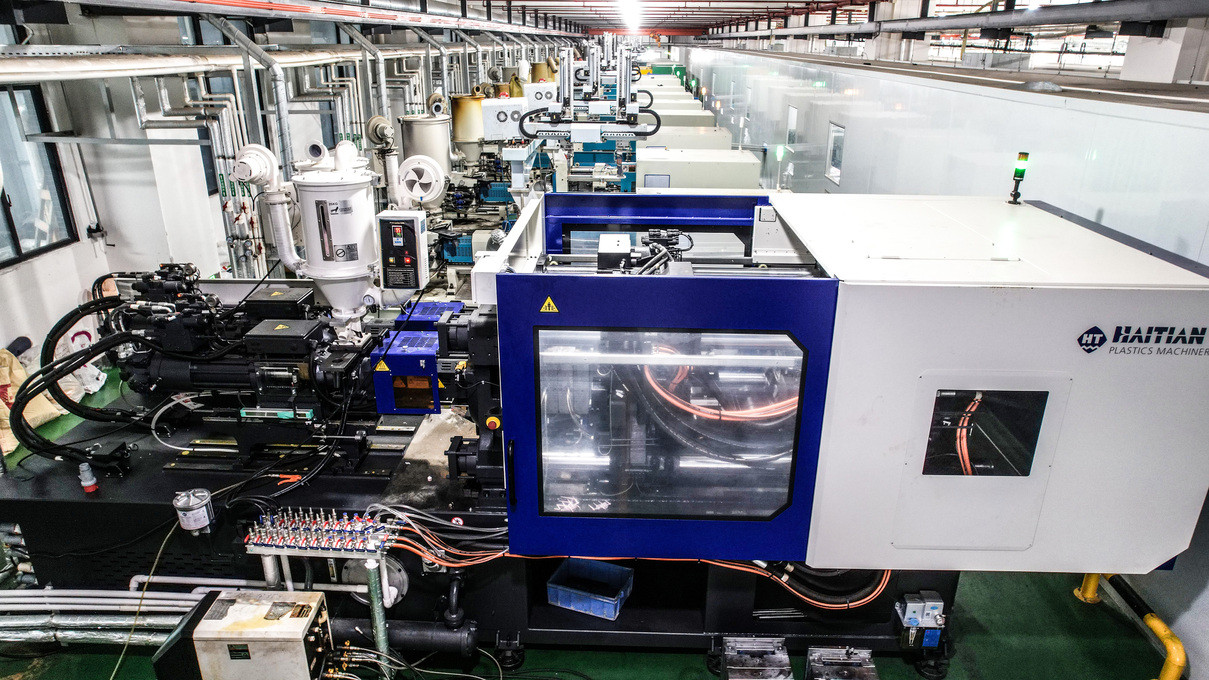
Injection molding is built for high-volume manufacturing output. Once you invest in a hard steel or aluminum mold, your unit cost drops to a fraction of a dollar. The machine injects plastic, cools the part, and ejects it in a cycle that takes less than thirty seconds. This speed allows you to produce thousands of identical plastic components every single day.
The mechanical quality of molded parts is far superior to printed parts. Molten resin fills the entire mold cavity under high pressure. This creates isotropic mechanical strength across all directions in the part. You can also pick from thousands of commercial plastic resins. You can add glass fibers, flame retardants, or UV stabilizers to meet strict performance standards.
Total Cost = Upfront Tooling Cost + (Unit Cost × Production Quantity)
[ 3D Printing ] –> Low Tooling + High Unit Cost (Best for < 1,000 units)
[ Injection Molding ] –> High Tooling + Low Unit Cost (Best for > 1,000 units)
Essential DFM Rules for Successful Tooling
- Maintain Uniform Wall Thickness: Keep wall thickness consistent across the part to prevent sink marks and structural warping.
- Add Draft Angles: Apply a 1 to 2 degree draft angle on all vertical walls so parts eject cleanly without dragging.
- Use Generous Radii: Round all sharp internal corners to improve resin flow and reduce stress concentrations inside the tool.
- Calculate Resin Shrinkage: Always factor in material shrinkage rates when cutting tool steel to guarantee precise final dimensions.
How Do Production Costs Compare Between Both Methods?
Struggling to calculate the exact break-even point between mold tooling expenses and unit printing prices? Guessing your production numbers leads to severe financial waste.
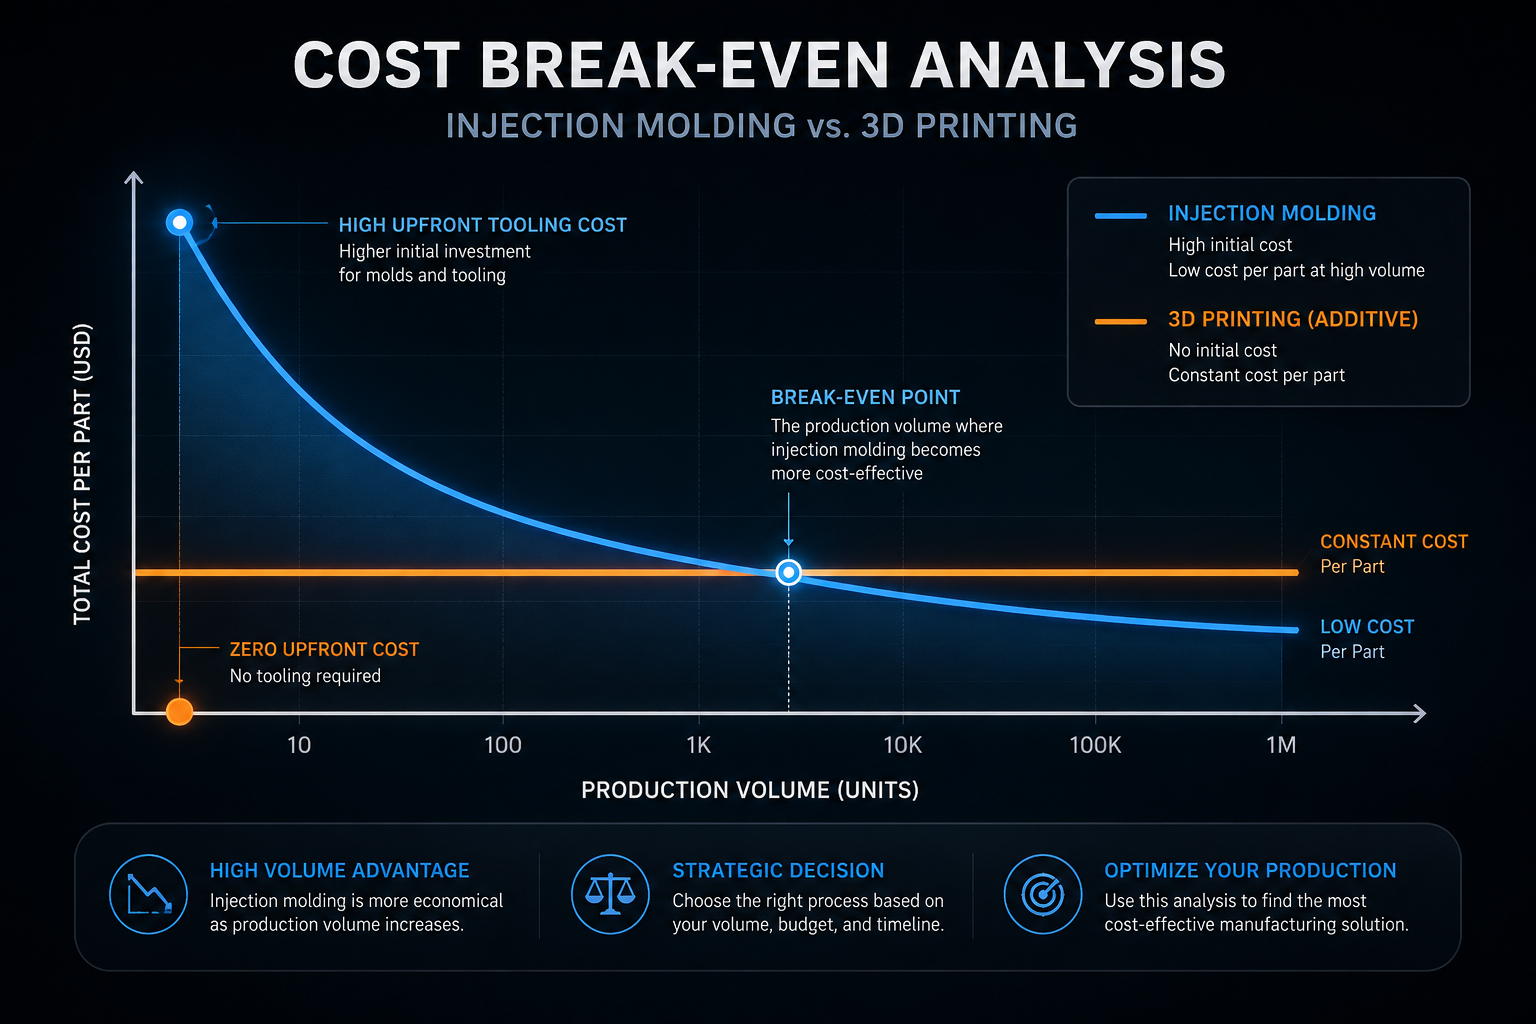
3D printing costs less upfront due to zero tooling fees, but unit costs remain flat. Injection molding requires high upfront tooling, but unit costs drop sharply as volume grows.
Breaking Down the Financial Break-Even Analysis
Calculating manufacturing costs requires analyzing fixed capital investment versus variable operational costs. 3D printing has near-zero fixed costs because you skip mold making entirely. But its variable cost per part remains flat regardless of order size. You pay the same material and machine runtime fee for part number one and part number ten thousand.
Injection molding operates on high fixed tooling costs and low variable unit costs. Designing and cutting a precise mold tool creates a large initial expenditure. But once production starts, raw plastic resin is cheap and machine cycles are extremely fast. The upfront mold cost spreads across all produced parts. At higher volumes, the low unit cost quickly offsets the initial tooling expense.
| Production Volume | 3D Printing Total Cost | Injection Molding Total Cost | Recommended Choice |
|---|---|---|---|
| 50 Units | $750 ($15 / unit) | $8,050 ($161 / unit) | 3D Printing |
| 500 Units | $7,500 ($15 / unit) | $8,500 ($17 / unit) | 3D Printing |
| 1,000 Units | $15,000 ($15 / unit) | $9,000 ($9 / unit) | Injection Molding |
| 10,000 Units | $150,000 ($15 / unit) | $13,000 ($1.30 / unit) | Injection Molding |
| 50,000 Units | $750,000 ($15 / unit) | $35,000 ($0.70 / unit) | Injection Molding |
How Does the Hybrid Approach Combine Both Technologies?
Worried about committing to a hard steel tool before validating your product in the real market? Skipping prototype tooling risks costly mold modifications later.
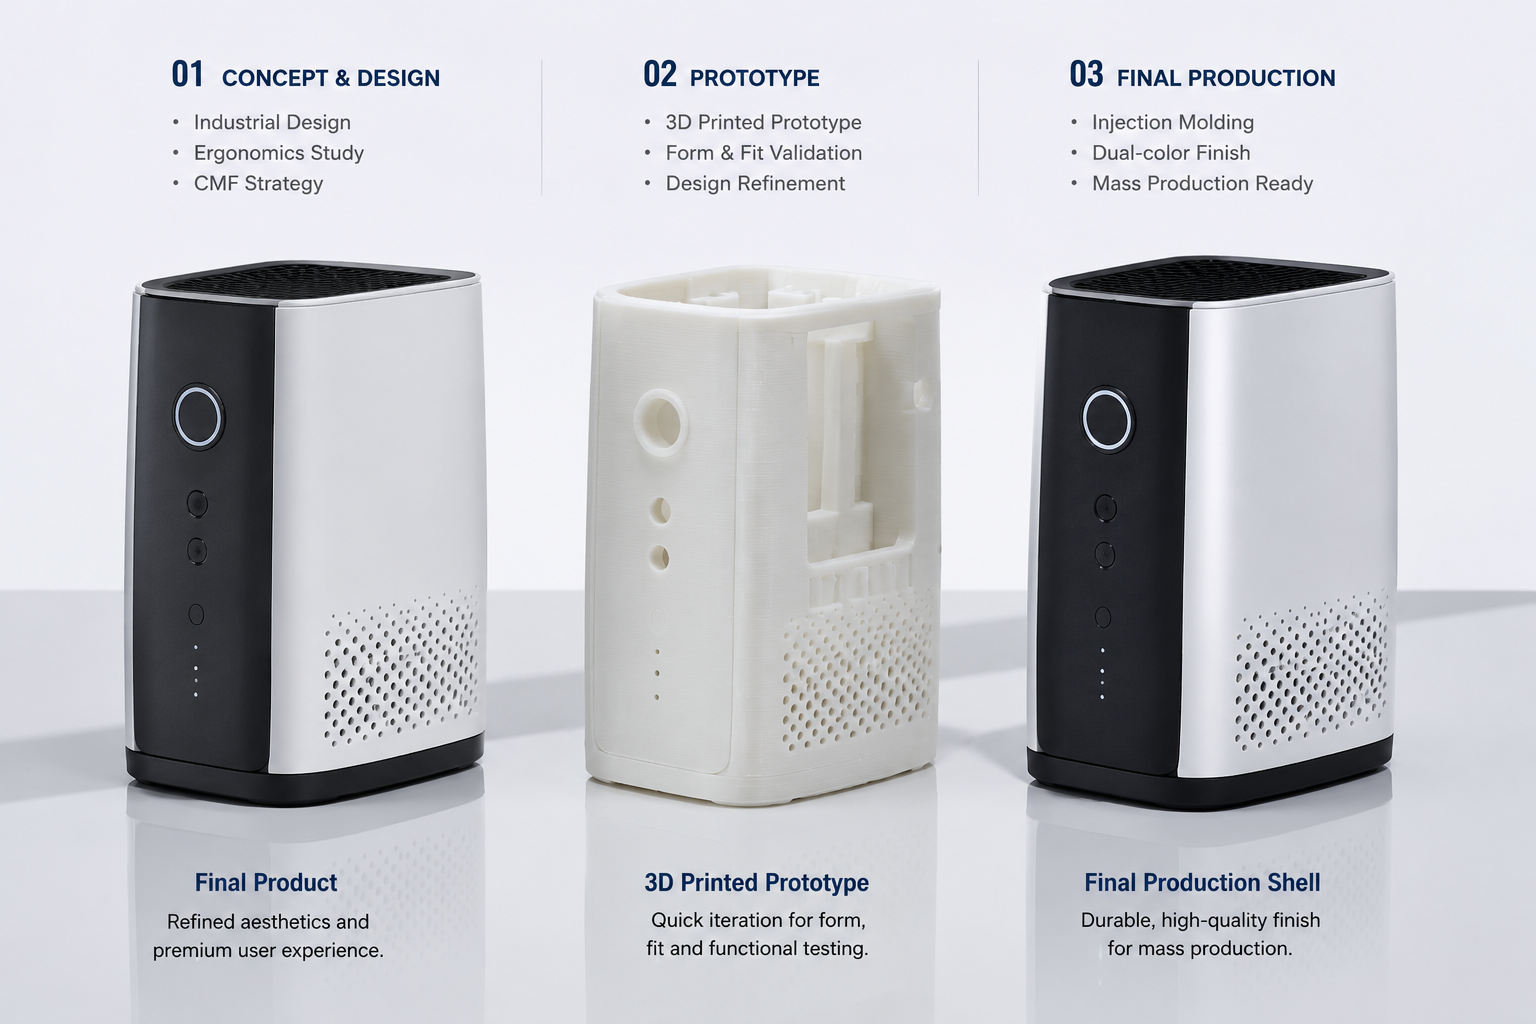
Use 3D printing to test fit, form, and market demand first. Then use rapid aluminum tooling or printed mold inserts to bridge the gap to high-volume injection molding.
Mitigating Financial Risk Through Phased Manufacturing Development
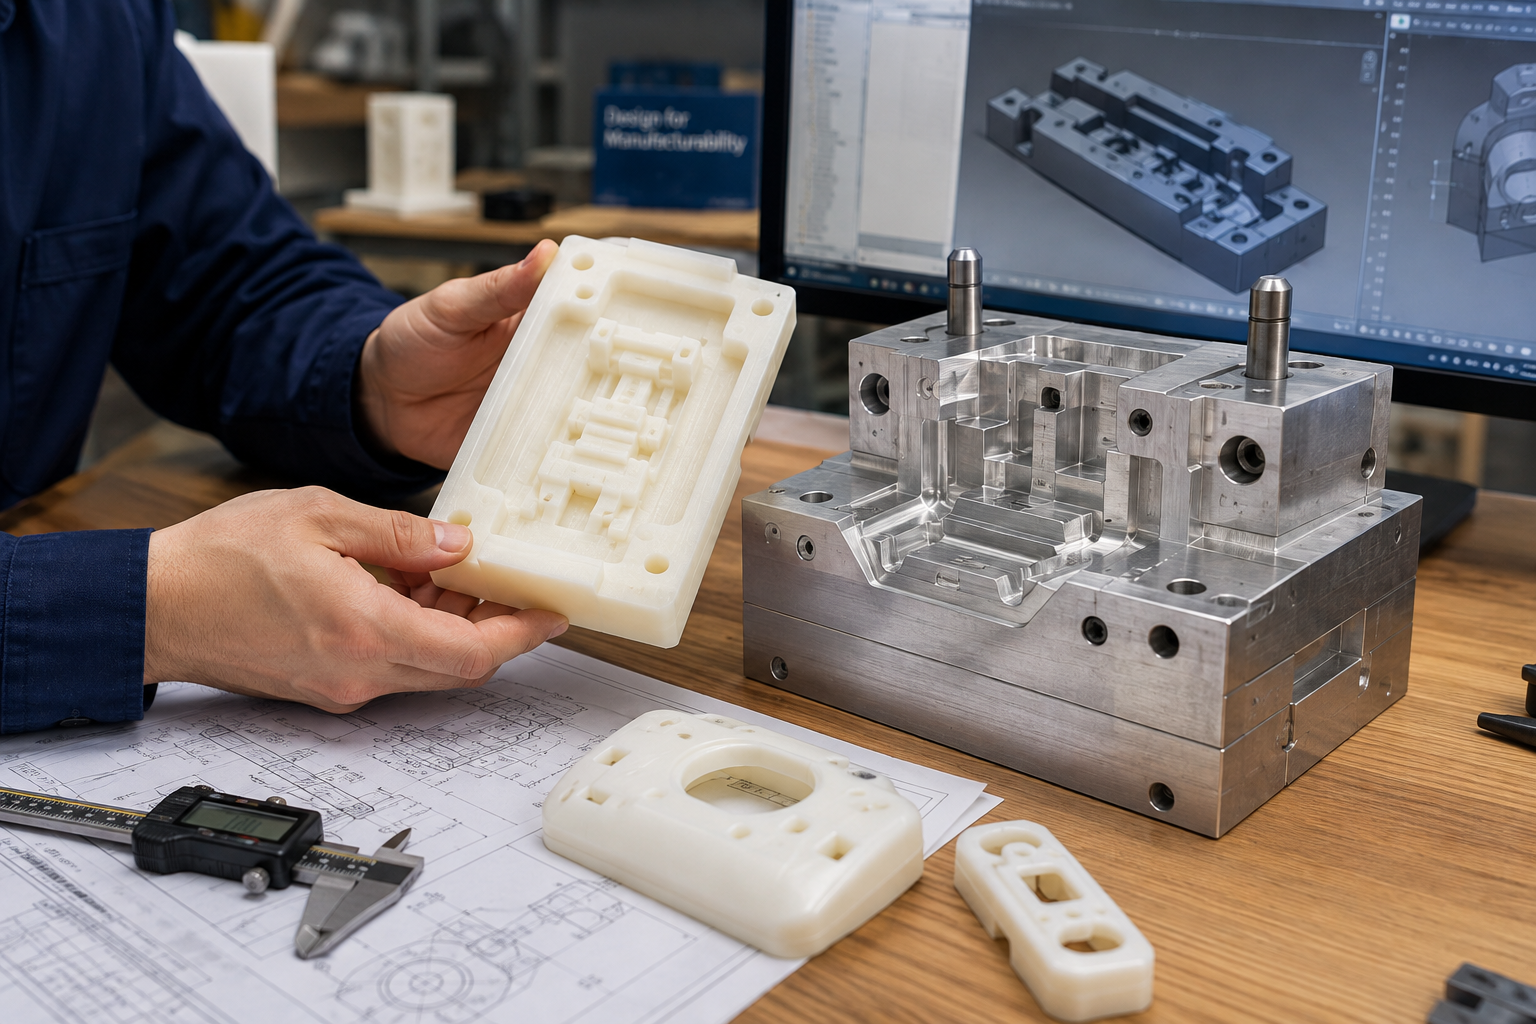
Smart product development teams do not choose just one technology. They use both methods sequentially to lower financial risk. During the early design phase, you print functional prototypes to test mechanical fit and ergonomics. You fix design flaws in CAD for a few dollars rather than modifying steel tools for thousands of dollars.
As you prepare for market entry, you can bridge the gap using short-run production options. You can 3D print mold inserts or build quick-turn aluminum tooling. This hybrid strategy lets you produce 500 to 2,000 real injected parts for customer testing. You validate actual sales demand and generate early revenue. Once market demand exceeds thousands of units, you invest in hardened multi-cavity steel molds with total confidence.
- Phase 1: Concept & Prototyping — Print early models using SLA or FDM to test appearance and mechanical assembly.
- Phase 2: Functional Testing — Print end-use engineering materials (SLS/MJF) to validate stress load and heat performance.
- Phase 3: Bridge Tooling — Use 3D printed mold inserts or quick aluminum tooling to mold 100 to 1,000 real production parts.
- Phase 4: Mass Production — Transfer validated DFM files to multi-cavity hardened steel tools for low-cost volume output.
What Real Production Lessons Come From Case Study Decisions?
Unsure how these manufacturing principles apply to real commercial product launches? Real production stories reveal the hidden traps in process selection.
A consumer electronics firm used 3D printing for 300 pilot units, then switched to injection molding for 20,000 units, saving over $100,000 in production costs.
Analyzing a Consumer Electronics Product Launch
A client came to me with a smart handheld device enclosure design. They needed to launch 300 pilot units for industry reviewers and early backers. They also planned a mass market launch of 20,000 units later that year. They asked if they should build production tooling immediately.
I advised them to split their production strategy into two distinct phases:
- Pilot Phase (300 Units): We used Selective Laser Sintering (SLS) 3D printing. The team avoided an early $12,000 mold expense. They delivered pilot units to reviewers in one week.
- Feedback Integration: Early user testing revealed that the battery door needed a stronger snap-fit latch. We updated the CAD file in one day without any tool rework costs.
- Mass Production Phase (20,000 Units): We built a multi-cavity steel injection mold. The unit cost dropped from $18.00 per printed part to $0.85 per molded part.
- Financial Result: The company saved more than $100,000 on their full production run compared to printing everything.
How Does Kenvox Support Both Manufacturing Pathways?
Tired of juggling different suppliers for your early prototypes and final mass production runs? Managing multiple vendors causes communication gaps and project delays.
Kenvox provides a single platform for rapid 3D prototyping, DFM engineering analysis, and high-volume custom injection molding under certified ISO 9001 standards.
Seamless Transition from Concept to Mass Manufacturing
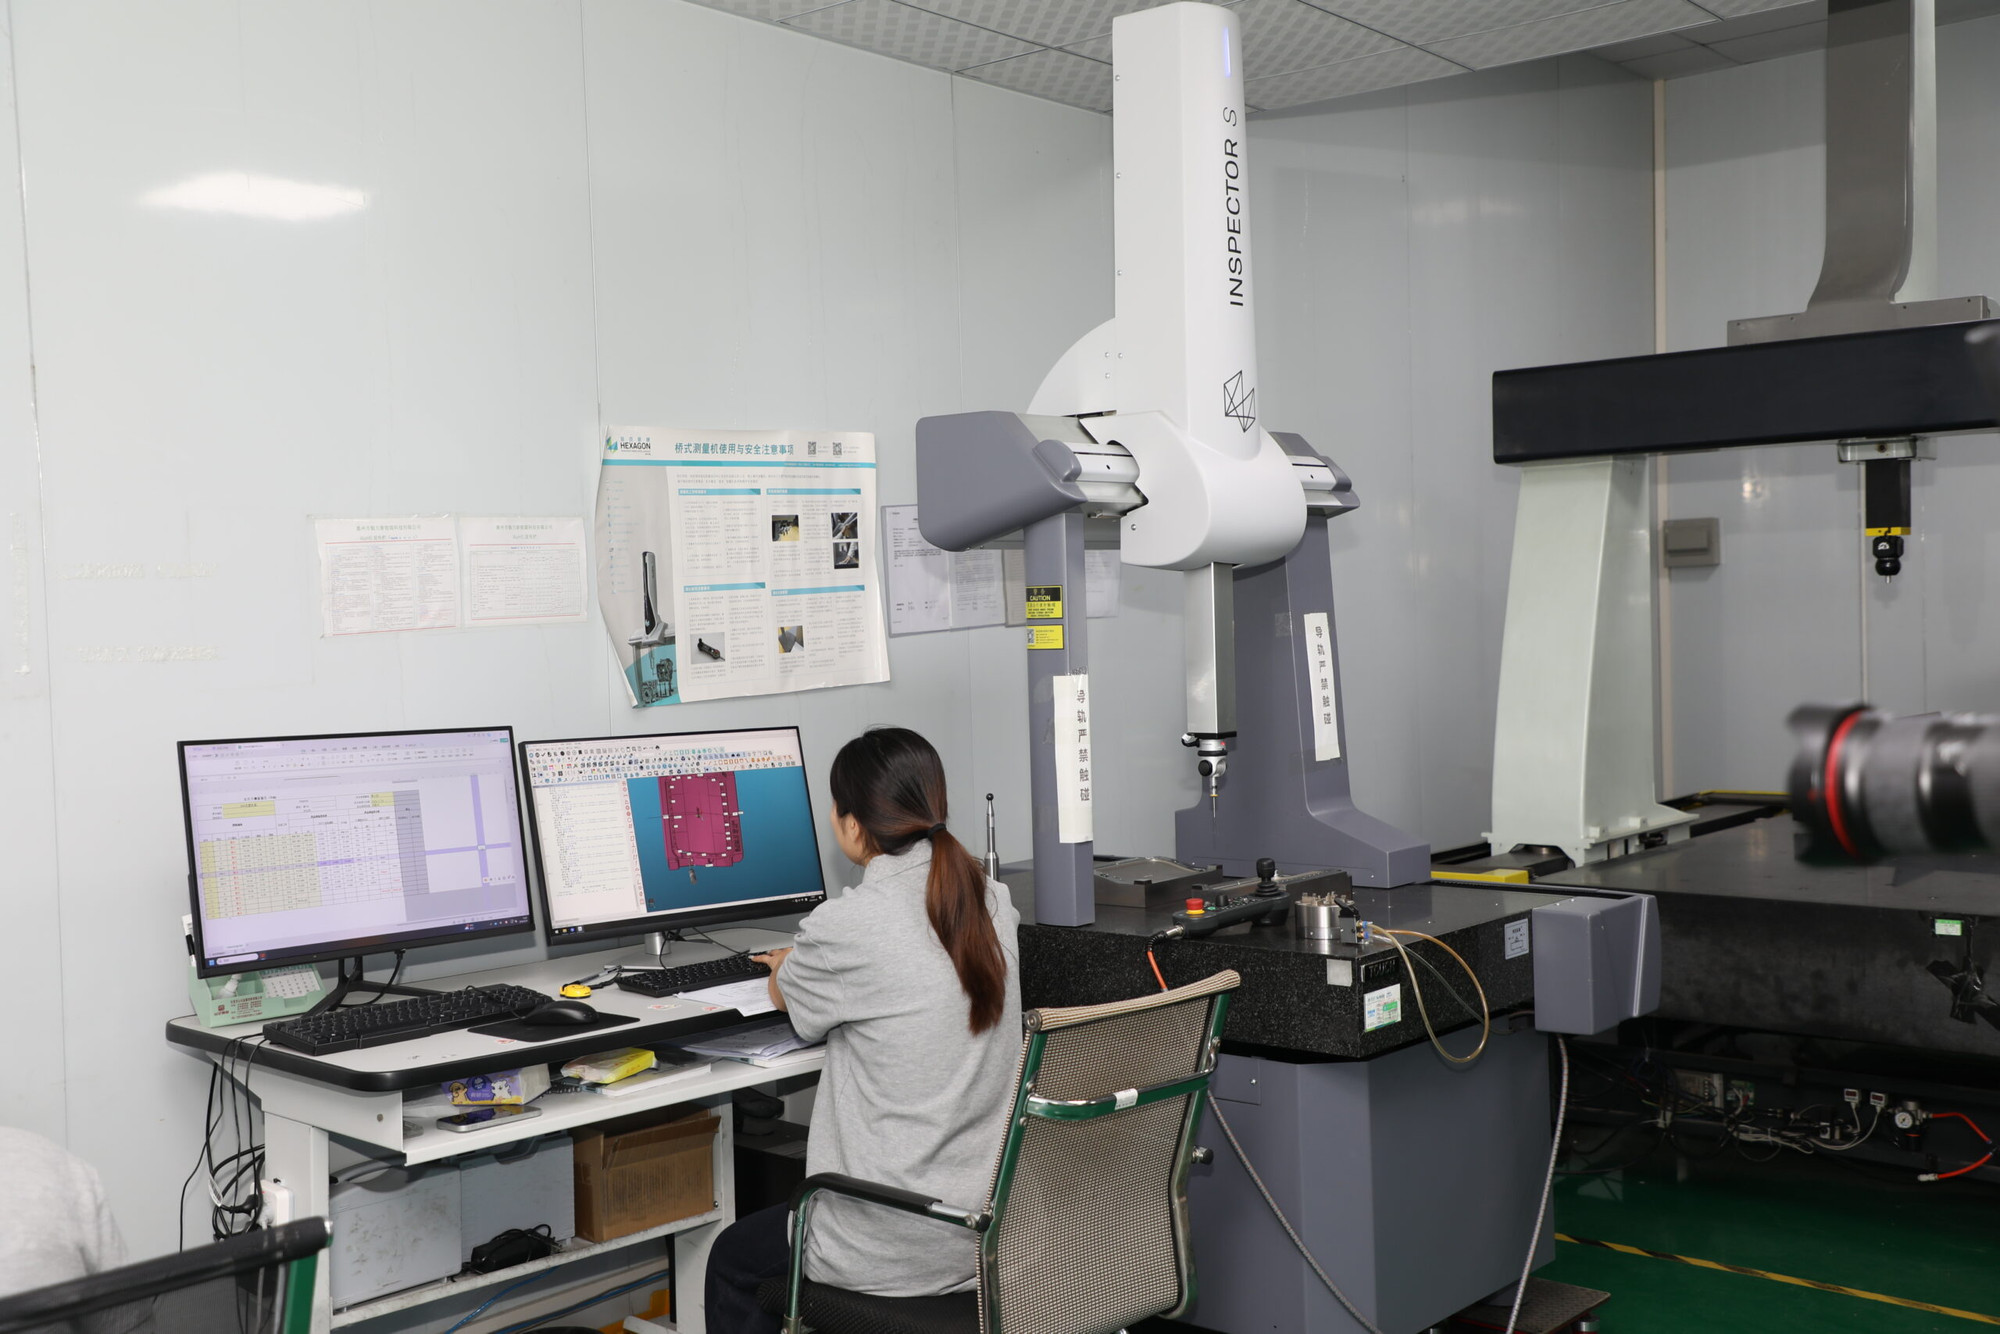
At Kenvox, we remove the friction from product development. You do not need to switch vendors when moving from early prototypes to high-volume manufacturing. Our engineering team reviews your design files from day one. We evaluate your parts for both additive printing and mold flow performance. We identify potential shrinkage, draft issues, and wall thickness variations before you spend a single dollar.
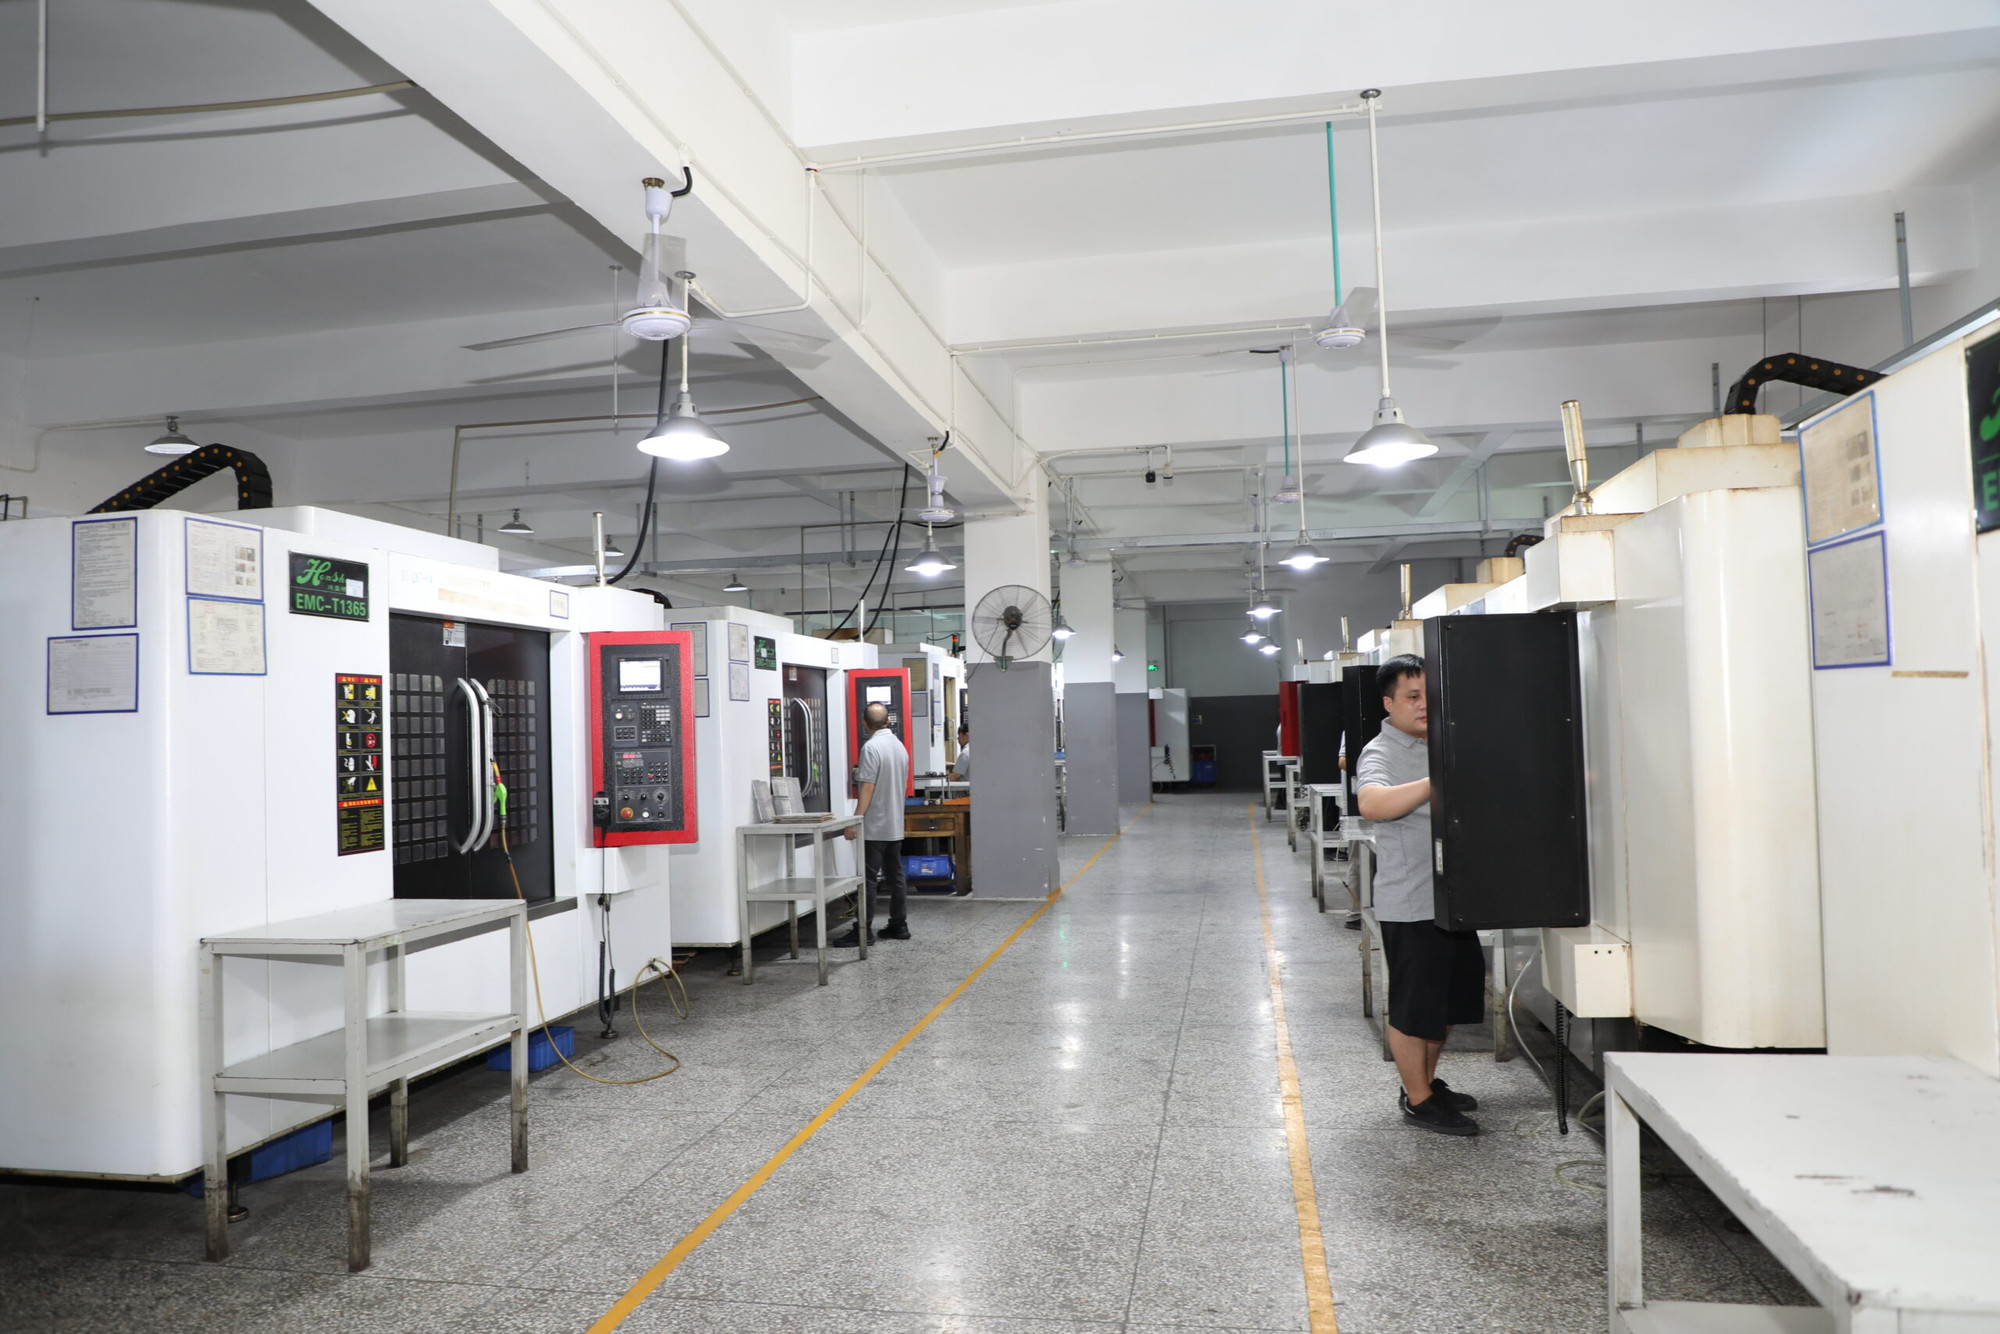
We operate 190+ injection molding machines alongside complete prototyping capabilities in our group facilities. We support CNC prototyping, silicone sample molds, and 3D printing for your early validation needs. When you are ready for scale, we manufacture precision single-cavity, multi-cavity, and two-shot overmolds under ISO 9001 and IATF 16949 quality standards. We deliver a complete turnkey service from initial concept through tooling, molding, secondary assembly, and global delivery.
[ Concept CAD ] –> [ Kenvox DFM & 3D Prototypes ] –> [ Tooling & Molding ] –> [ Final Assembly ]
Frequently Asked Questions
Which process is cheaper for 500 plastic parts?
3D printing is almost always cheaper for 500 plastic parts. The cost of building an injection mold usually outweighs the higher unit cost of printing at this low volume.
Can 3D printed parts match the strength of injection molded parts?
No. 3D printed parts have layer lines that create weak points along the vertical axis. Injection molded parts are fully solid and isotropic, providing higher mechanical strength.
What is the average lead time for an injection mold?
A standard plastic injection mold takes 2 to 6 weeks to design, cut, polish, and perform initial T1 sample trials, depending on part complexity and cavity count.
Conclusion
Choose 3D printing for low volumes, complex geometries, and fast design changes. Switch to injection molding for production runs over 1,000 units to secure low unit costs, fast cycle times, and superior strength.
My Role & About Me
I am a product and mold design engineer with ten years of hands-on experience in consumer electronics and precision plastic components. I help hardware creators optimize part geometries, resolve mold shrinkage, and select the right manufacturing processes for scale.
Brand Name: Kenvox
Slogan: Just show us your design or idea, Kenvox will return you a perfect finished product!
Website: www.kenvox.com
About Kenvox:
Kenvox is a Hong Kong–based contract manufacturing group (est. 1989) offering one-stop turnkey project delivery from design support, DFM, and prototyping to precision injection mold making, high-volume plastic and silicone molding, metal fabrication, assembly, and global logistics.